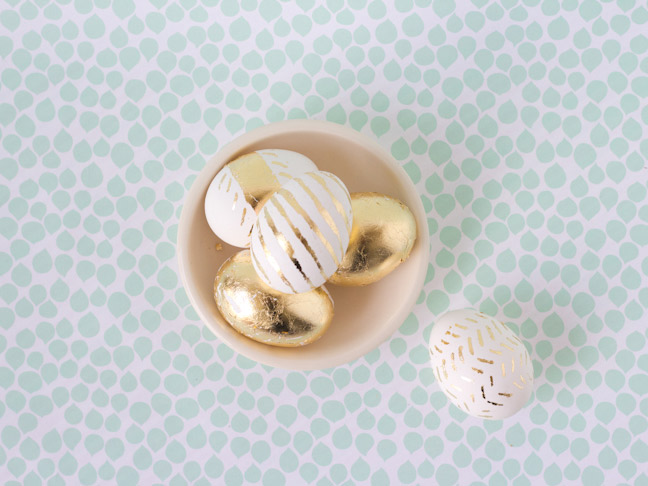

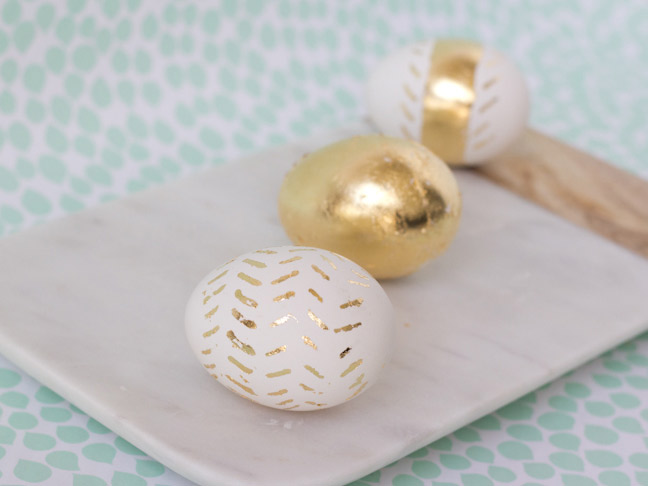
What’s better than a plain old Easter egg? How about a golden Easter egg? These gilded beauties are like a chic, grownup version of the traditional dyed egg, and they’ll dress up your spring decor for sure. Even better, they don’t take a ton of time or technique, and you can customize to your heart’s content! Join us and add some gold leaf Easter eggs to this year’s Easter basket.
Supplies:
- room temperature hard boiled eggs
- gold leaf
- gold leaf adhesive
or pen
- clean, dry craft paintbrush
Instructions:
Step 1: Be sure your hard boiled eggs are clean, dry, and at room temperature.
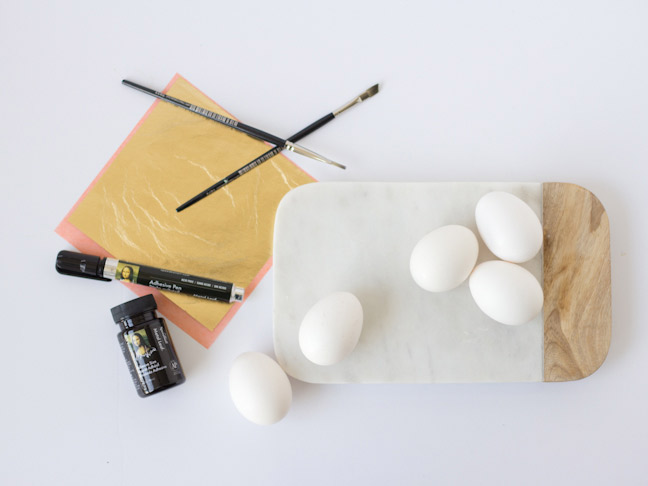
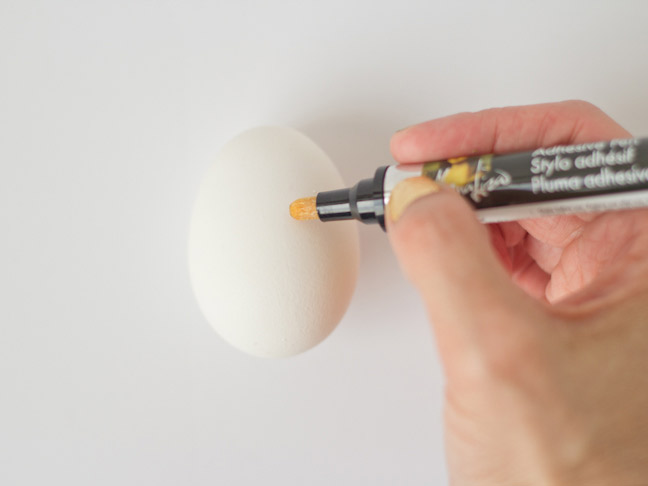
Step 2: Create a design on an egg using the gold leaf adhesive. If you’re using a pen, simply draw it on. If you’re using a bottle of adhesive with a brush, brush on a thin layer of adhesive wherever you’d like the gold leaf to stick.
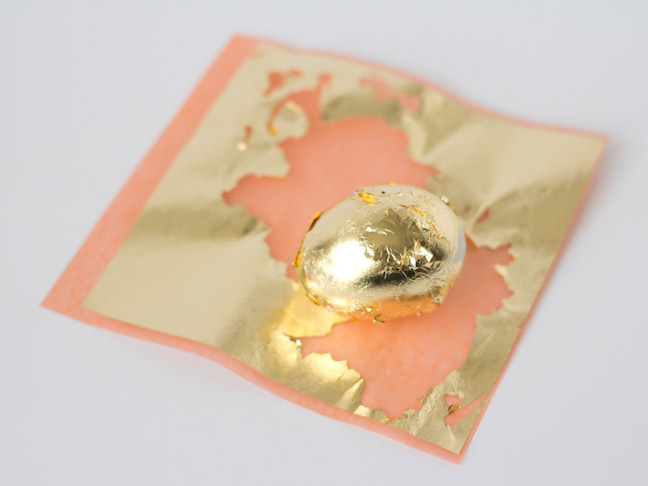
Step 3: Set egg aside for a few minutes and allow the adhesive to dry. If you apply the gold leaf while the adhesive is too wet it will slide right off. The adhesive should be tacky to the touch when it’s ready. Place a sheet of gold leaf over the sections of the egg that are tacky. (You may need to roll the egg around on the gold because of the curved shape.) Peel away the orange part of the leaf sheet, and the gold should remain on the egg.
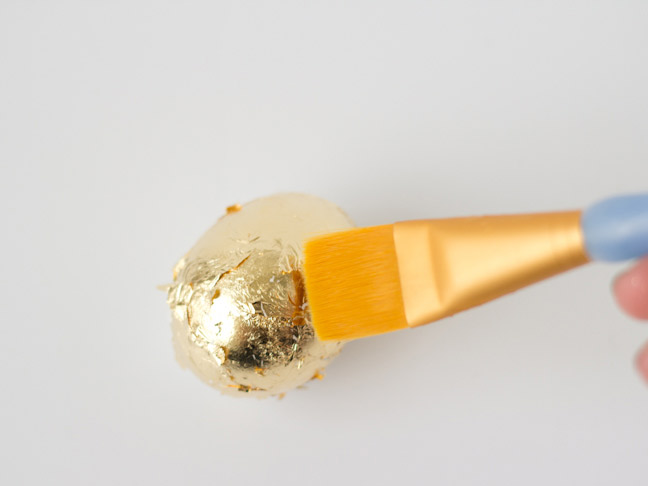
Step 4: Using a clean, dry paintbrush, buff away the excess gold leaf from the egg until it’s smooth and clean. If you need to touch up any areas with gold, simply repeat the process with a little adhesive and gold leaf.
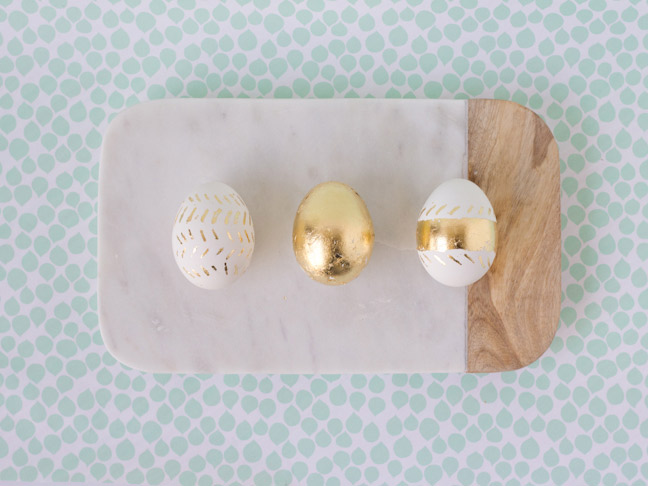
Step 5: Set out your eggs and you’re golden!
More Easter DIYs:

.jpg?w=182&h=122&crop=1)


