Update Your Decor With This Chic DIY Zebra Print Rug

Walk On The Wild Side With A DIY Zebra Print Rug

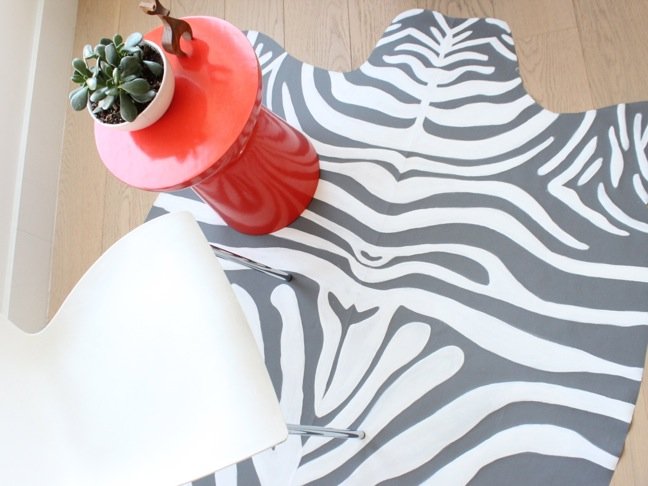
I love a good DIY challenge. Especially one that saves me from spending money on a fancy store-bought item. I recently tested my artistic skills and made a version of the very trendy (and often expensive) DIY zebra print rug. The last time I experimented with animal print was during my high school years when I created cheetah print pillows and a tiger print bedspread—but my latest DIY attempt is a little tamer and a lot more chic.

The overall project entails cutting out a large canvas cloth, painting the drop cloth with a white painter’s marker, and then adding the zebra stripes with paint. The stripes require a bit of concentration, but the beauty of this zebra print rug is that they don’t have to be perfect for it to look authentic. In other words, it’s hard to mess this up.

Looking to add a touch of animal print decor to your home without spending a fortune? Follow my step-by-step directions below to create your own DIY zebra print rug.

Supplies:

Directions: 

Walk On The Wild Side With A DIY Zebra Print Rug

Step 1: Lay the fabric on the ground bottom-side up, and begin to outline the shape of a flat zebra hide. The reason I flipped the fabric is to conceal pencil marks on the painted side. I referenced a zebra print rug online to draw the outline shape.

Note: After researching various DIY versions of this rug online, I found that you can choose from a variety of fabrics. You can use a canvas drop cloth from Home Depot, as well as suede fabric. I used a canvas fabric with vinyl on the backside.

Walk On The Wild Side With A DIY Zebra Print Rug

Step 2: Cut the fabric out along the lines you drew.

Walk On The Wild Side With A DIY Zebra Print Rug

Walk On The Wild Side With A DIY Zebra Print Rug

Step 3: Draw stripes on one side of the zebra hide. For this step, I also referenced a photo online. I used a Painter’s Marker to outline stripes on one side of the zebra, ultimately matching it on the other side with the same Painter’s Marker. The marker worked well for me because it was light, but visible enough for me to paint over on my fabric.

Walk On The Wild Side With A DIY Zebra Print Rug

Walk On The Wild Side With A DIY Zebra Print Rug

Step 4: Paint the stripes on the rug. Be sure to mix the paint with fabric medium before painting the canvas cloth. You can follow the directions on the bottle, but I generally follow the rule of one part fabric medium for every two parts paint. I had to do two to three coats of white paint on the grey fabric. It will likely take fewer coats if the fabric is light and the paint is dark.


Walk On The Wild Side With A DIY Zebra Print Rug

Walk On The Wild Side With A DIY Zebra Print Rug

Walk On The Wild Side With A DIY Zebra Print Rug

Step 5: After the paint dries, find a spot for your new rug. This project doesn’t take a ton of money to complete (in fact, it was less than $30), but it is time-consuming. Zebra stripes cannot be rushed, so take your time, and feel free to unleash your wild side.

More Home Decor Projects:

TRENDING
No content yet. Check back later!
X
monitoring_string = "b24acb040fb2d2813c89008839b3fd6a" monitoring_string = "886fac40cab09d6eb355eb6d60349d3c"