Make this awesome, easy pair of wings as a fun costume for Halloween and beyond!
This basic tutorial for a pair of bird wings can be used for a variety of Halloween costumes depending on the color of felt you use. It could be used as a parrot, owl, bat, or even a dracula! There’s no need to stress about exactly measurements in any of this, wings are practically fool-proof thanks to their forgiving shape. And, like all Halloween costumes, this one is great to keep in your costume box for dress up all year round!
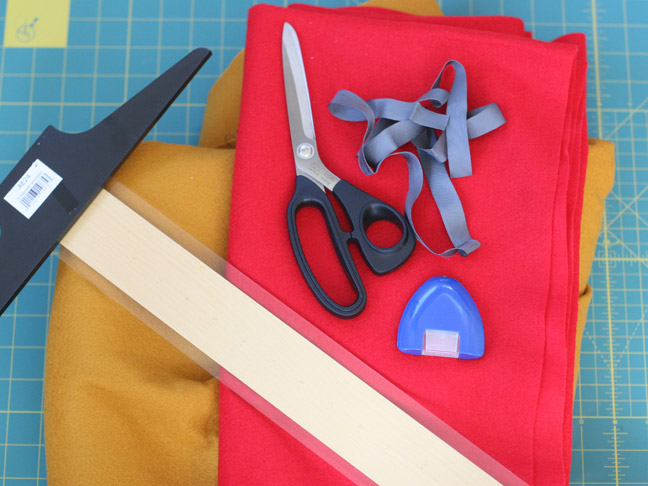
Supplies:
Two different colors of felt (depending on what kind of wings you are making)
Straight edge
Chalk
Bias tape or ribbon for the tie
Scissors
Sewing machine
Dinner Plate
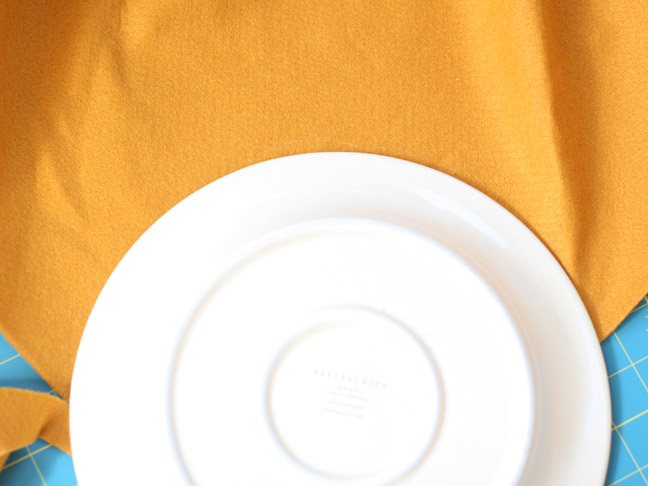
Starting with one of the fabrics (the one that will be lying on top), place a plate down to trace the curved section for the neck.
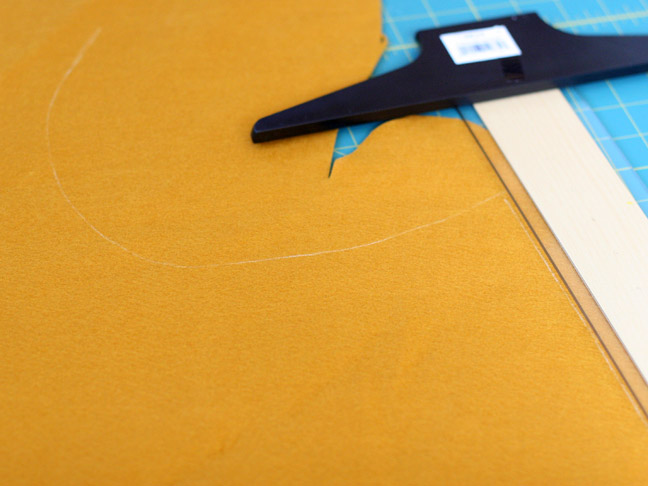
With the straight edge, draw a straight line from one edge of the curve down about 15 inches with chalk diagonally to one side.
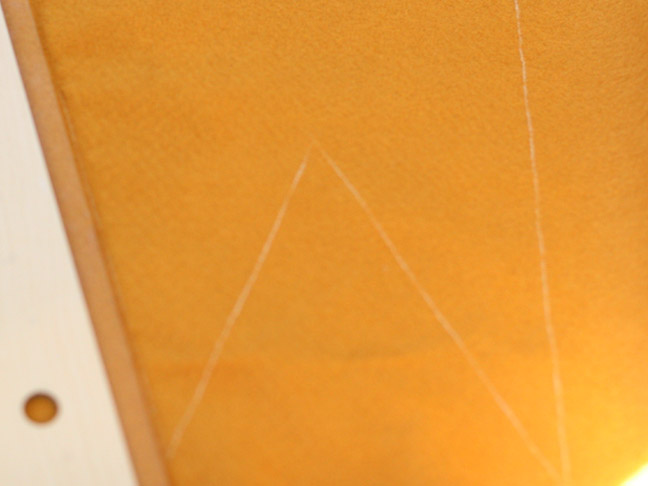
Start making zig zag lines with the chalk and straight edge to create the jagged edges of the bird wings. There’s no need to be exact on any of this, there’s lots of room for error and adjustments depending on what shape you’d like.
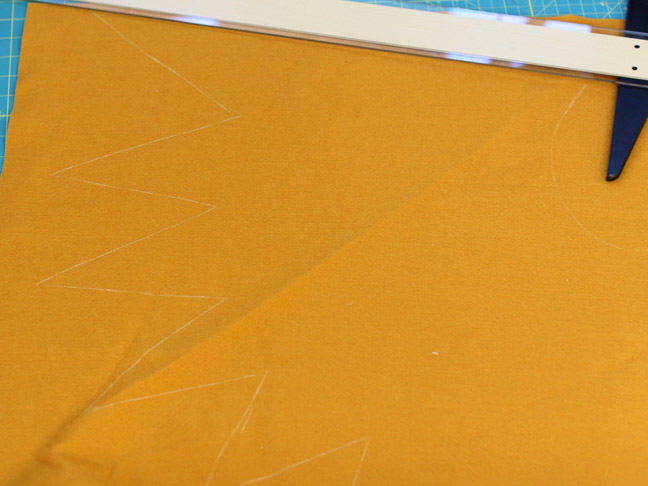
Continue around to the other side and then make a straight line back up to the top of the other side of the curved line. Cut out this piece.
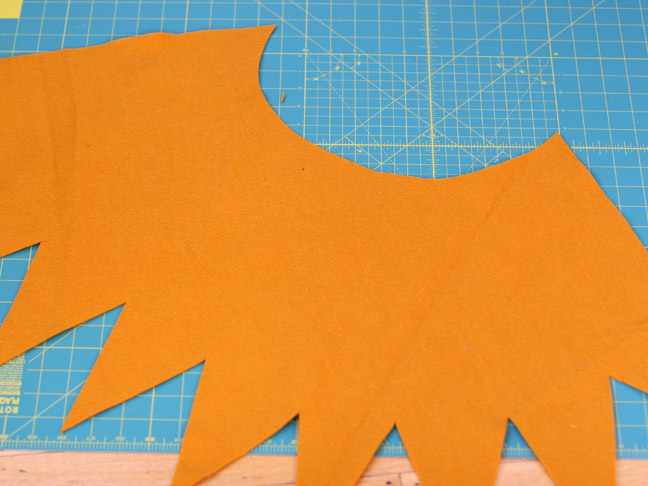
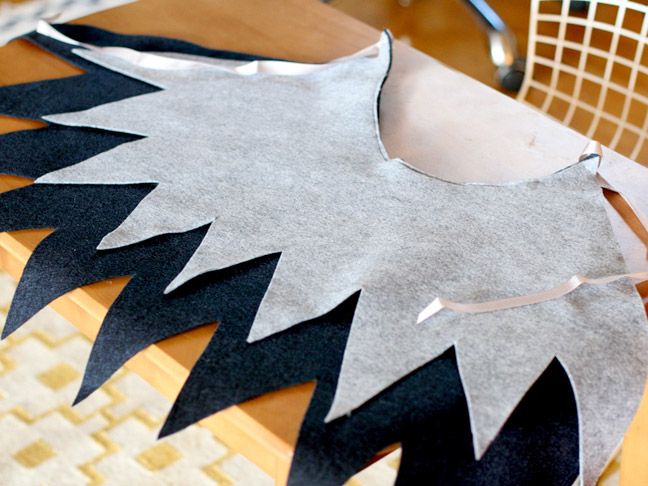
You should now have a wing that looks something like this.
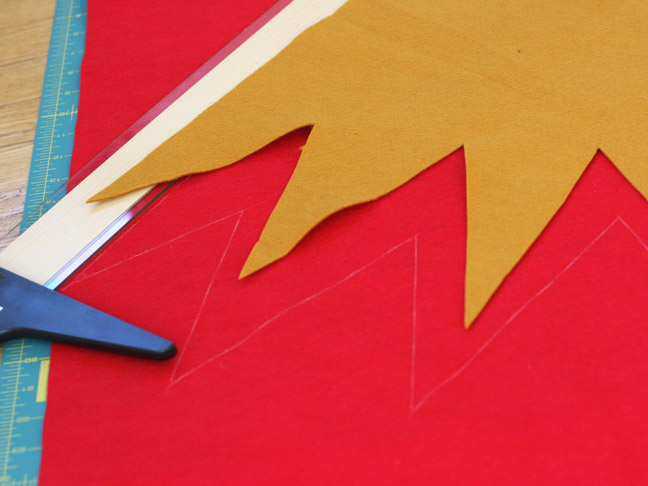
Place the first wing on top of the second piece of felt. You’ll want the second piece to be larger than the first. So when when you’re making your lines and zig zags, make sure they’re longer than the first piece lying on top but use the existing wing as a kind of template. Cut out the second piece.
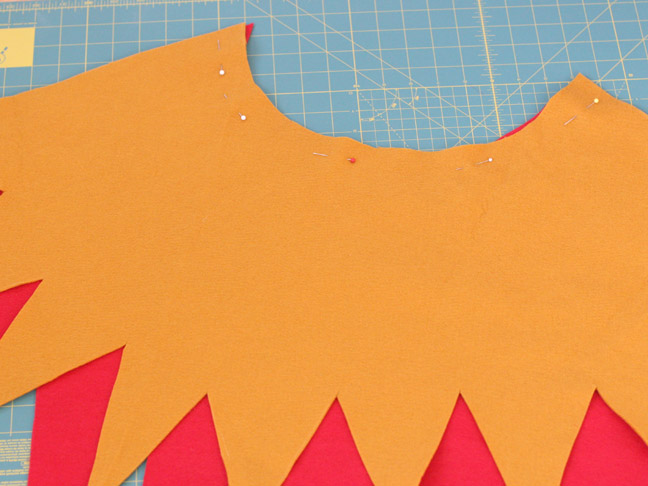
Align the pieces together at the neck, pin and sew along that neck line.
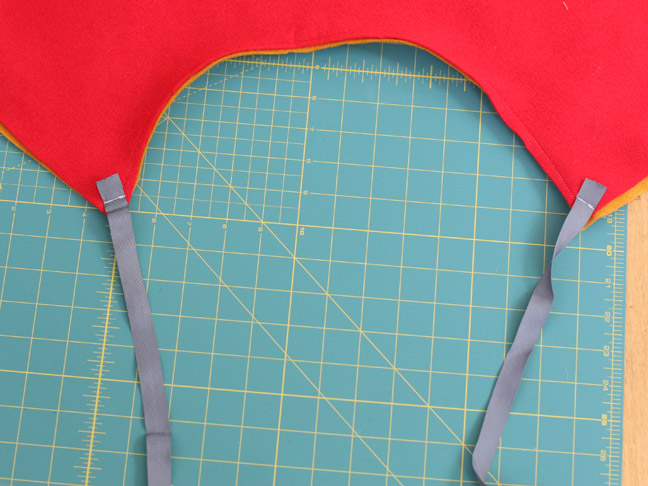
Attach the two pieces of ribbon or bias tape to either side of the wings, on the bottom.
Now you’ve got a fun pair of wings for a Halloween costume! As you can see from this owl version, it can be used for a variety of wings/capes depending on the costume you’re making!
