Materials:
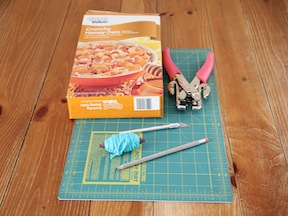
- cereal box (or other cardboard)
- duct tape (white and pink)
- hole punch
- scissors
- exacto knife
- pencil
- string
- cutting mat
Instructions:
Step 1: Cut out the front or back panel of the cereal box so that it lays flat.
Step 2: Using your pencil draw the shape of the mask and cut it out. This is a great job for the kids! Give them a pencil in case they need to erase and re-draw. Kids can draw freehand or use a template.
Step 3: Using the exacto knife, cut out the eyes.
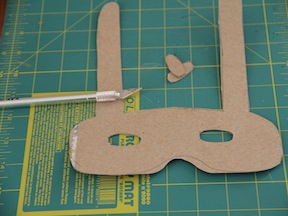
Note: Later on I ended up making the eyes bigger than shown here. After my son tried on the mask, I saw the eyes needed to be larger—it’s a trial and error thing based on the size of your child’s face.
Step 4: Place the mask down with the printed side of the cereal box facing up. Cut strips of the white duct tape and cover the mask. Even the eyes!
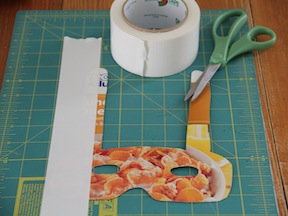
Step 5: Using the exacto knife, cut around the shape of the mask through the duct tape. This is also a good time to cut the eye holes bigger, if needed, or change the size of the nose area (which I also did).
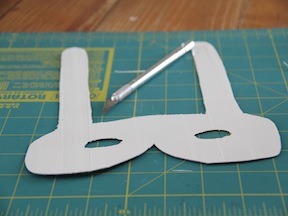
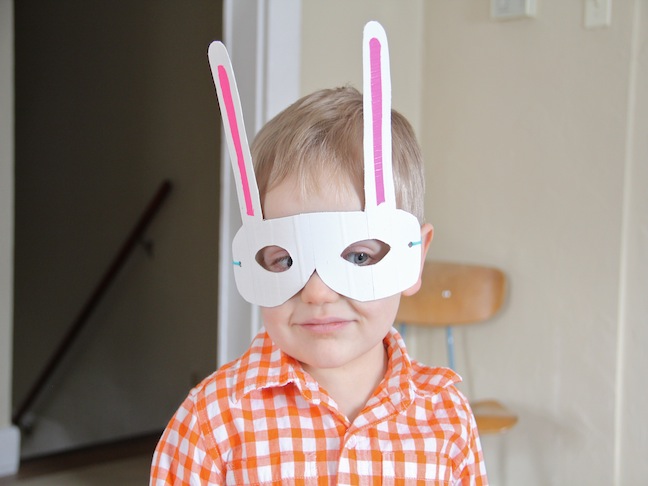
Step 6: Put a strip of the pink duct tape on the cutting mat and cut out a skinnier shape of the ears.

Step 7: Place the pink on the ears for that classic and fun bunny look!

Step 8: Take your hole punch and punch a hole on both sides of the mask. Try and make these as even as possible. It just makes the mask turn out better in the end.
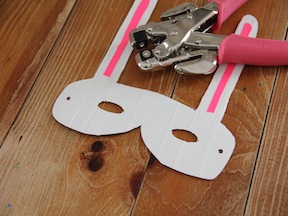
Step 9: Cut your string and knot it onto either side of the mask. Now you are done! Attach it to your child and get ready for some Easter fun!

Want more Easter ideas?
- DIY Fabric Easter Trays
- Peeps Tower Easter Craft
- Easter Egg Cookie Bouquet Recipe
- Spring Bunny Wreath
- DIY Fabric Easter Trays
Find more crafts from Kersey Campbell at ARDOR.
