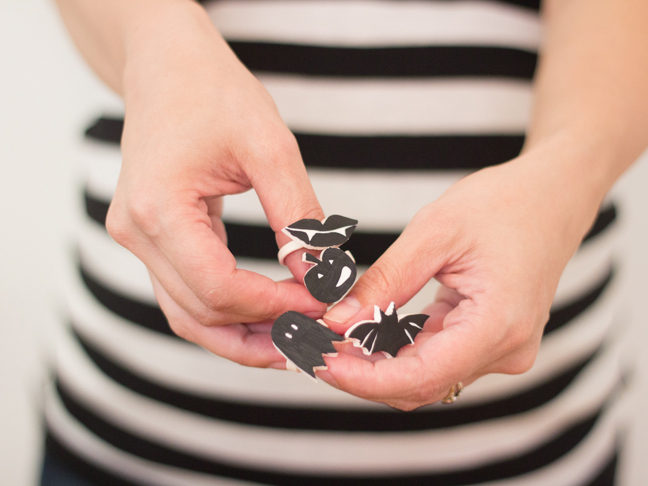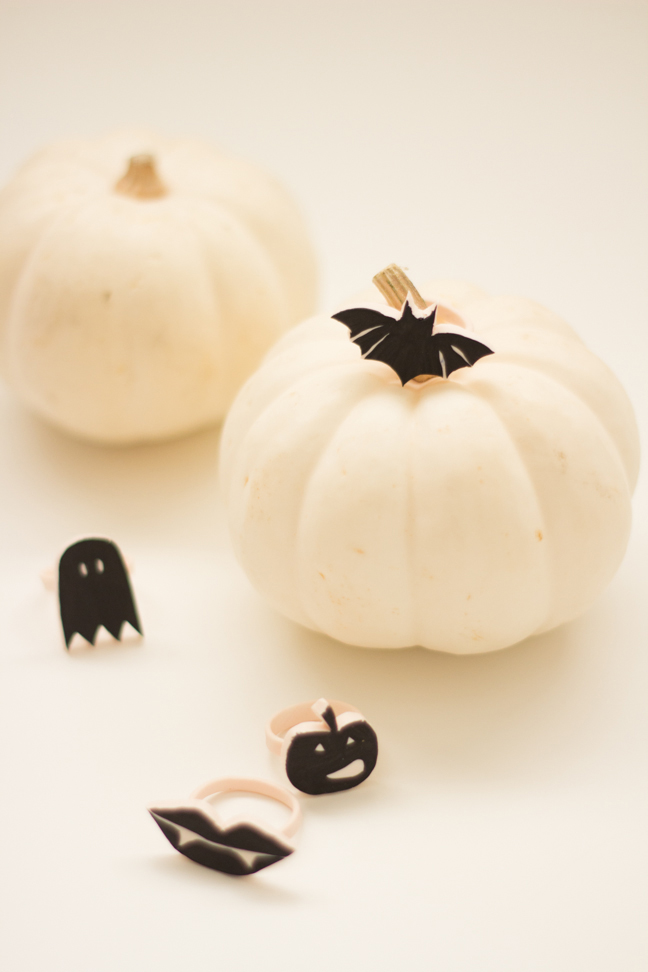
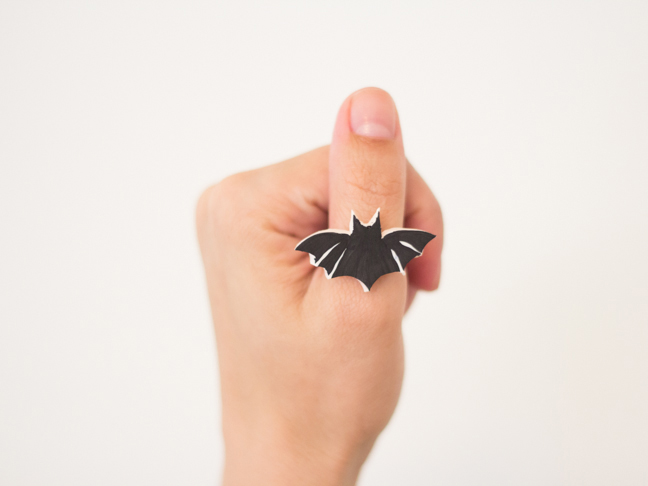
So maybe you’re not quite the costume type. Maybe you’re the type who just likes to hang out, hand out candy, and admire everyone else’s crazy Halloween get-ups. If that’s the case, don’t be a total humbug—make like Mavis in Hotel Transylvania 2 and get yourself a ring! These teeny ones can get you into the spooky spirit, and if you’re making some DIY Halloween rings for yourself, might as well make a few to pass around to your friends. Have fun and carve out every Halloween shape you can think of!
Supplies:
- oven bake or air dry clay
- rolling pin
- cutting board
- craft knife
- oven
- black craft paint
- small paintbrush
- strong glue
Instructions:
Step 1: Knead your clay like a litter of wolf pups pawing papa Wayne’s sanity at naptime, break it down nice and soft, then roll it out on your cutting board until it’s about 1/8-inch thick.
Step 2: With a craft knife, cut out small Halloween shapes. Anything is fair game! Witch hats, cats, jack-o’-lanterns, candy corn, Frank, Drac, the Blob, Johnnystein, and just about anything else you can think of will look great on a ring. Then roll out a thin, narrow strip of clay and form it into a ring shape that will fit the fingers of every recipient, from kids to adults; one ring for every Halloween shape you cut out.
Step 3: Bake or air dry the clay according to the instructions on your packaging.
Step 4: Once clay is cool and cured, paint the front sides of your Halloween shapes. The more spooktacular, the better!
Step 5: Allow the shapes to dry and adhere them to the ring loops with your glue. Let the glue dry and set thoroughly.
Step 6: Pop on a few rings, hand the others out to those who appreciate terrifying accessories, and celebrate with the rest of the Halloweenies!
*This post is sponsored by Sony Entertainment.
More DIY Halloween Crafts: