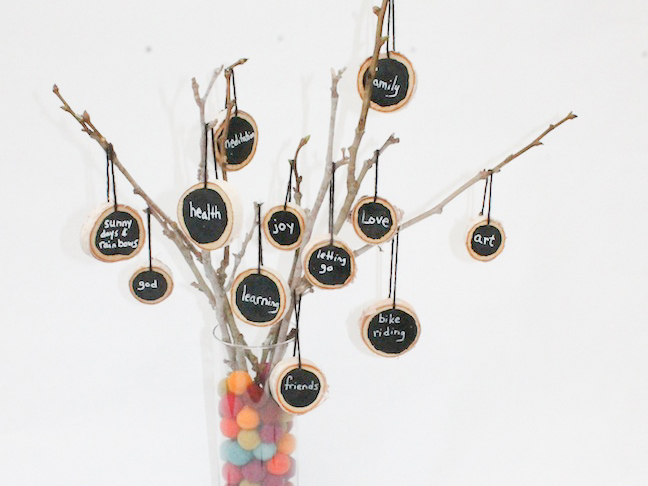
Each year on Thanksgiving before we dig into the turkey, mashed potatoes, and stuffing (my fave), my family goes around the table and says at least one thing that we are the most thankful for. This year, I thought it would be fun to share our gratitude a different way—as a decoration on a display shelf or as a centerpiece. It’s so easy to do. Here’s how to create your own DIY thankful tree craft.
Supplies:
- Glass vase
- Pom poms (I used felt ones.)
- Sticks from the yard
- Tree branch slices (found at craft stores)
- Drill
- Yarn
- Needle
- Black craft paint or chalkboard paint
- White chalk, chalk marker, or paint pen
- Paintbrush
- Scissors
Instructions:

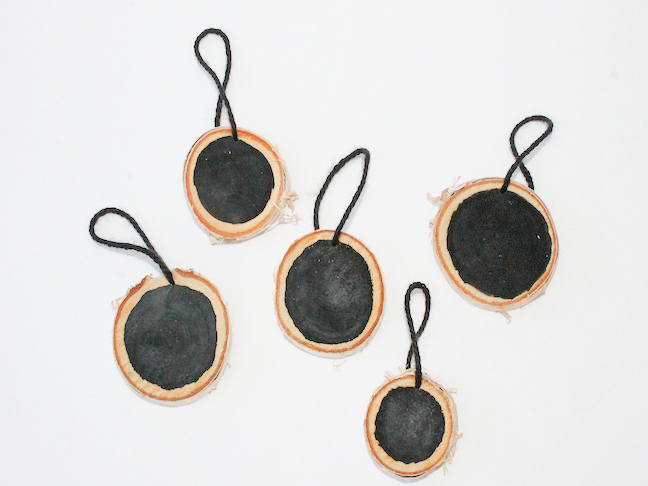
Step 1: Paint your tree branch slices with black craft paint or chalkboard paint. Let dry.

Step 2: Drill holes into the tree branch slices.

Step 3: Thread your yarn into the tree branch slice holes. Tie the ends of the yarn together to make a loop.
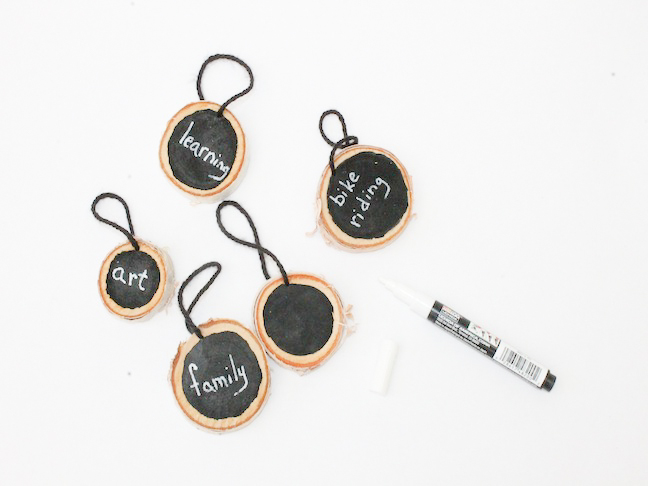
Step 4: Write everything that you’re thankful for on the tree branch slices. Use chalk or chalkboard marker if you used chalkboard paint. If you used regular black craft paint use a white paint pen instead.
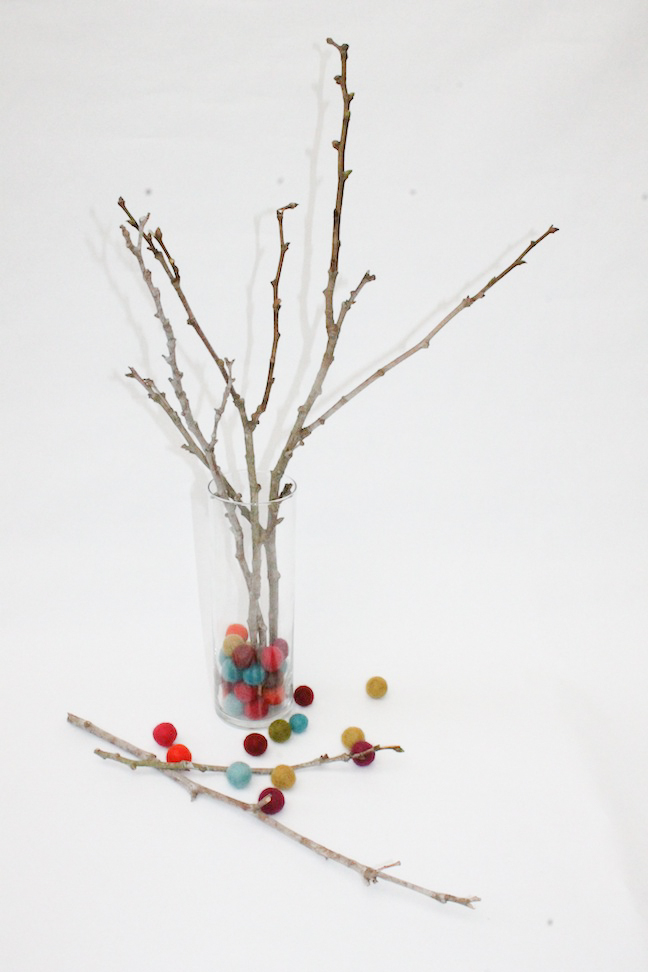
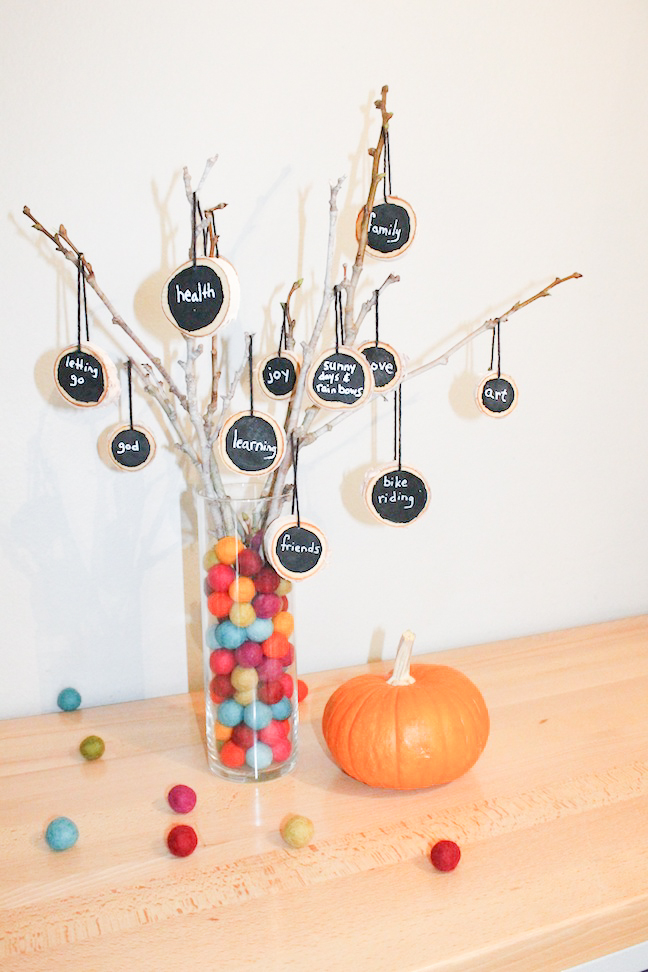
Step 5: Position your tree branches into your vase and place your pom poms in the vase.
Step 6: Decorate your tree branches with your gratitude ornaments.
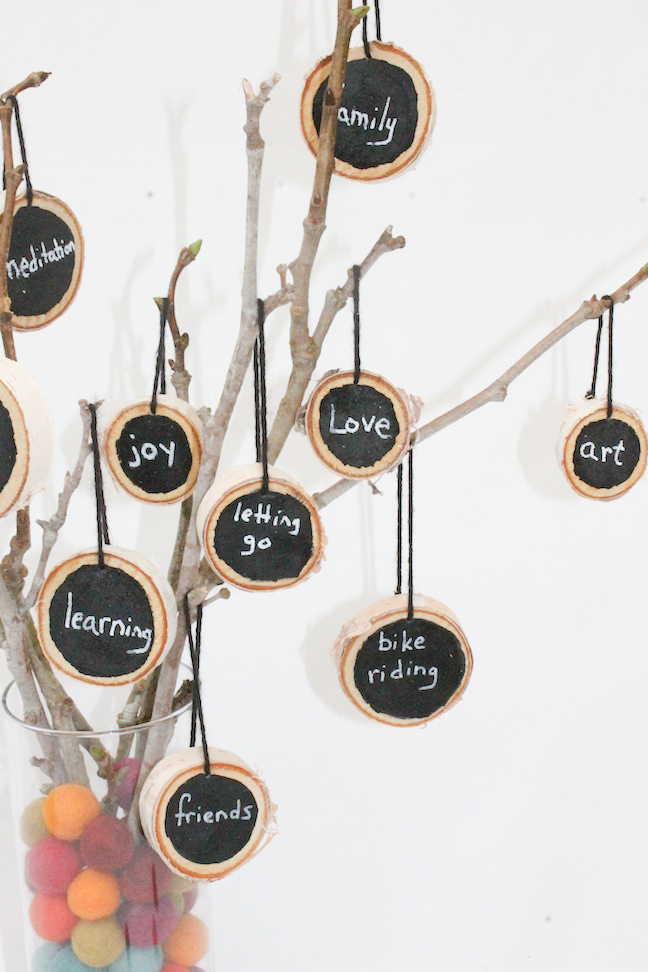
Project complete!
More DIY Thanksgiving Crafts:
