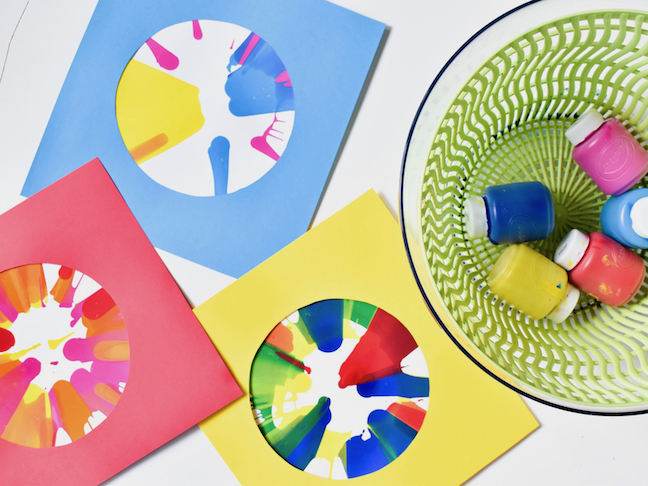
Keep Your Kids Busy With DIY Salad Spinner Art

“We’re bored!” We are well into summer vacation and at this point, most kids have no idea what to do with themselves. And parents are running out of ideas to entertain them. Well, an old salad spinner can change that.

A salad spinner is an awesome kitchen tool used to wash and remove excess from lettuce and other greens. But, what if I told you that you could entertain the kids for hours with that same kitchen gadget? Yes, you can repurpose the salad spinner to be a spin art machine to create one-of-a-kind DIY art; and then wash it in time to prepare a delicious dinner. This is a win/win in my mom book! I can add more salads to the rotating dinner menu, and the kids can have a fun and relatively mess-free art session.

Your kids are going to love this one, and let’s face it, you might need more art projects in your back pocket depending on school closures this year…so let’s get started.

Materials:

  • Card stock paper, white (or small paper plates)
  • Washable paint, Crayola
  • Salad spinner
  • Scissors

Directions:

Step 1: If you plan to use paper, outline the bottom of the salad spinner on a white piece of card stock paper, and cut it out. This paper will fit in the base of the salad bowl for your DIY art. Small paper plates work great, too.

Step 2: Drop paint on the round paper (or plate). You can set the paper in the spinner, and then drop the paint on the paper, or set the paper in the spinner with drops of paint already on it. The more paint you drop, the better. Initially, we tried small globs of paint on the paper, and the results were less than exciting, and the result was very minimal art. The more color you can add, the more colorful your art will be. We used washable paint, because we also like to use the salad spinner for it’s intended use, washing lettuce.

Step 3: Spin, spin and spin the salad spinner some more! It’s so fun to see the color combinations, and the distinct design that each spin creates. You will notice a pretty build up of paint on the side after several designs are made; just wipe it clean with a paper towel whenever you need.

Step 4: Display the art. You can create card stock frames for them, or hang them as they are.

More Ways to Keep Kids Busy:

X
Exit mobile version