Either tee would look cute dressed up with a blazer and some leggings. The stencil templates are included in the tutorial for your convenience. Make sure you allow more time for drying as the glitter fabric paint tends to take a bit longer. Enjoy!
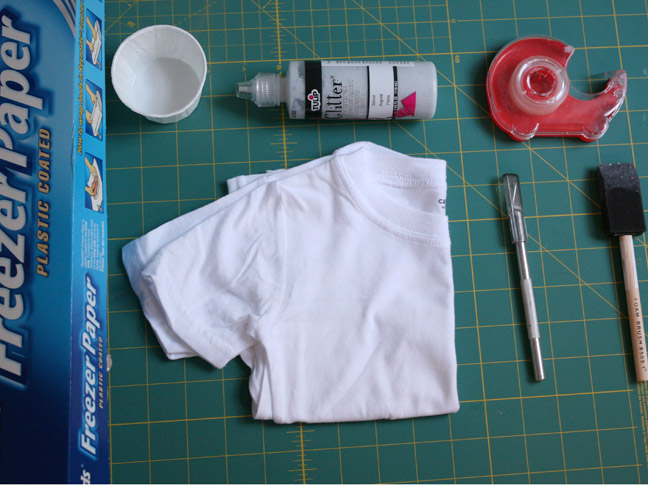
Supplies:
- Plain white kids tee
- Freezer paper (you can find it in the grocery store next to the waxed and parchment paper)
- Print out of stencils: You can download the tie image here
- and the bowtie image here
- Exacto knife
- Cutting mat
- Glitter paint for fabric
- Foam brush
- Iron
- Paper bowl or plate
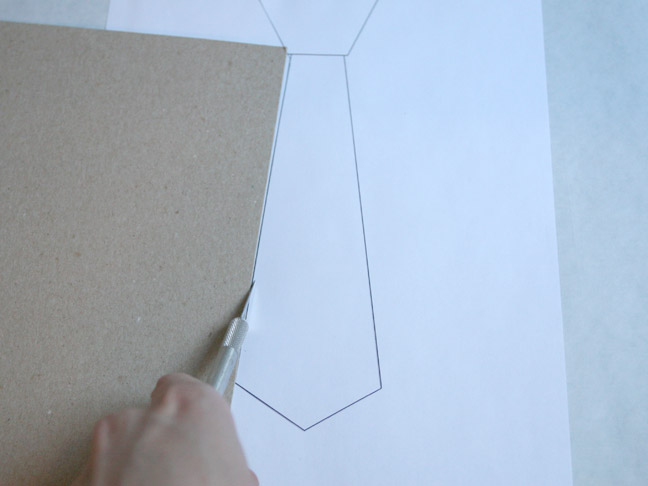
Cut a piece of freezer paper and place under your stencil. Tape both to the cutting mat. Cut out the stencil through both pieces with an exacto knife, I used a straight edge to help make that cut.
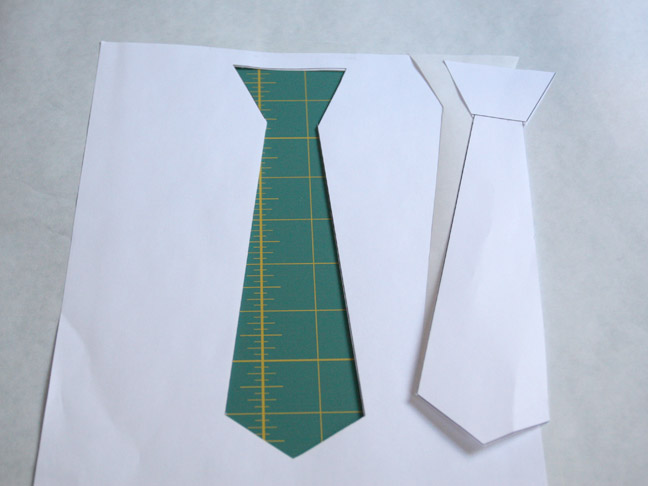
Remove the stencil from the inside of both pieces of paper. Throw that inside piece out. You’ll need the piece that’s left.
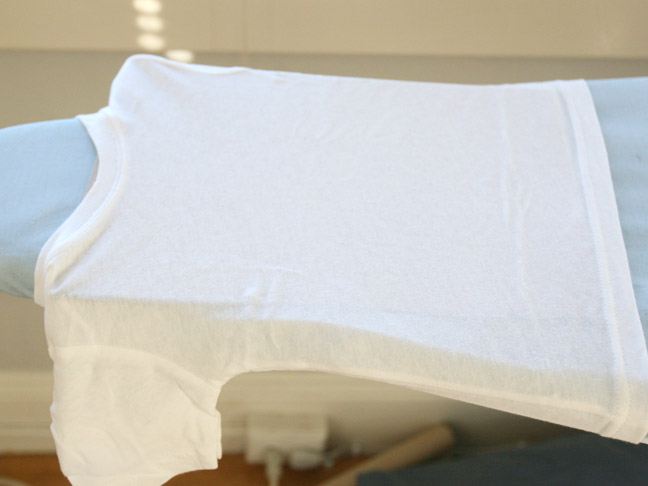
Iron a piece of freezer paper onto the inside of the front and place on the ironing board as shown.
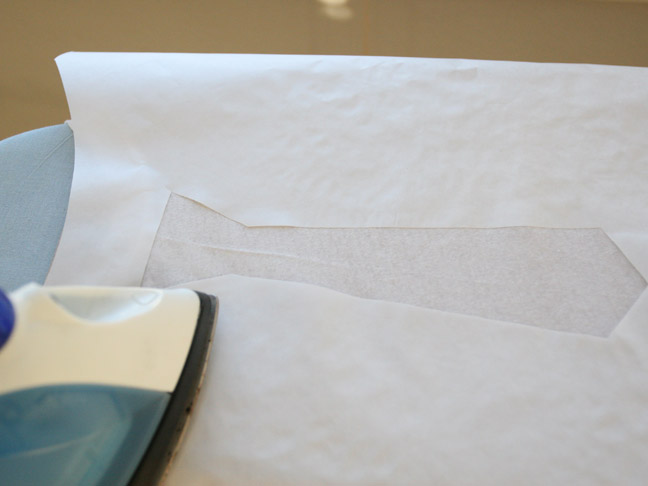
Iron the stencil onto the center of your tee. An easy way to find the center is to fold the tee in half length ways before and iron along the fold beforehand.
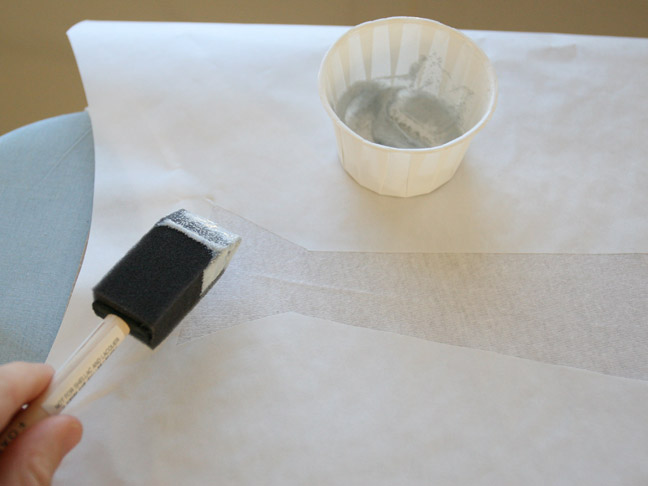
Squeeze some paint into a small container or paper plate and brush the paint into the middle of the stencil onto the tee. You might need to do a couple quotes.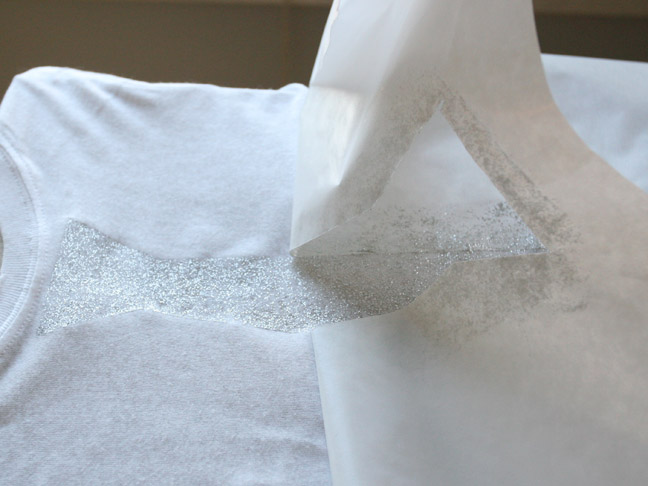
After it dries (the glitter kind of fabric paint takes a lot longer- allow a couple hours), peal the freezer paper off the front and inside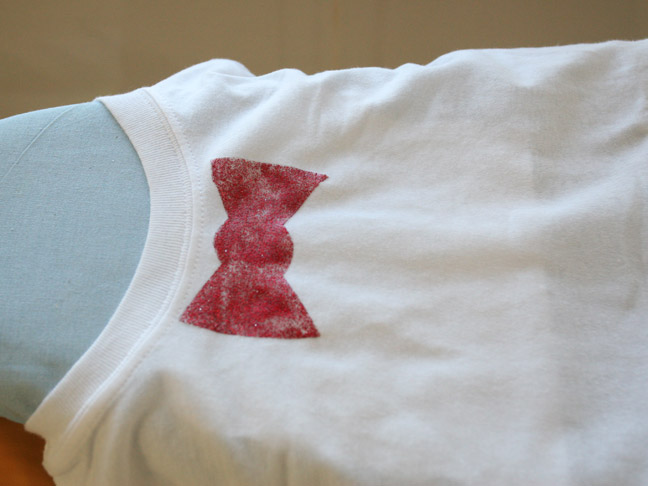
Repeat the process to make the bow tie if you’d like.
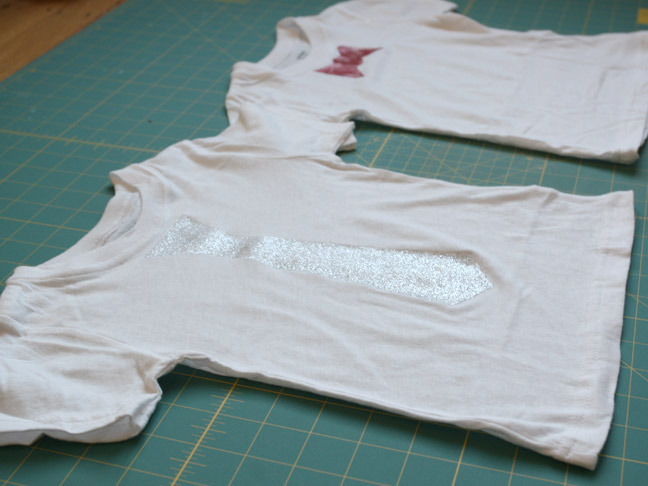
Let dry fully for 24 hours before wearing


