DIY-snail-terrarium.5

How to Make a Snail Terrarium

As the mom of a currently bug-obsessed four-year-old boy, I’ve been finding fun ways to use his obsession as a learning tool and encourage his love of dirt, bugs, and the outdoors in a way that keeps me from also having to dig for bugs all the livelong day.

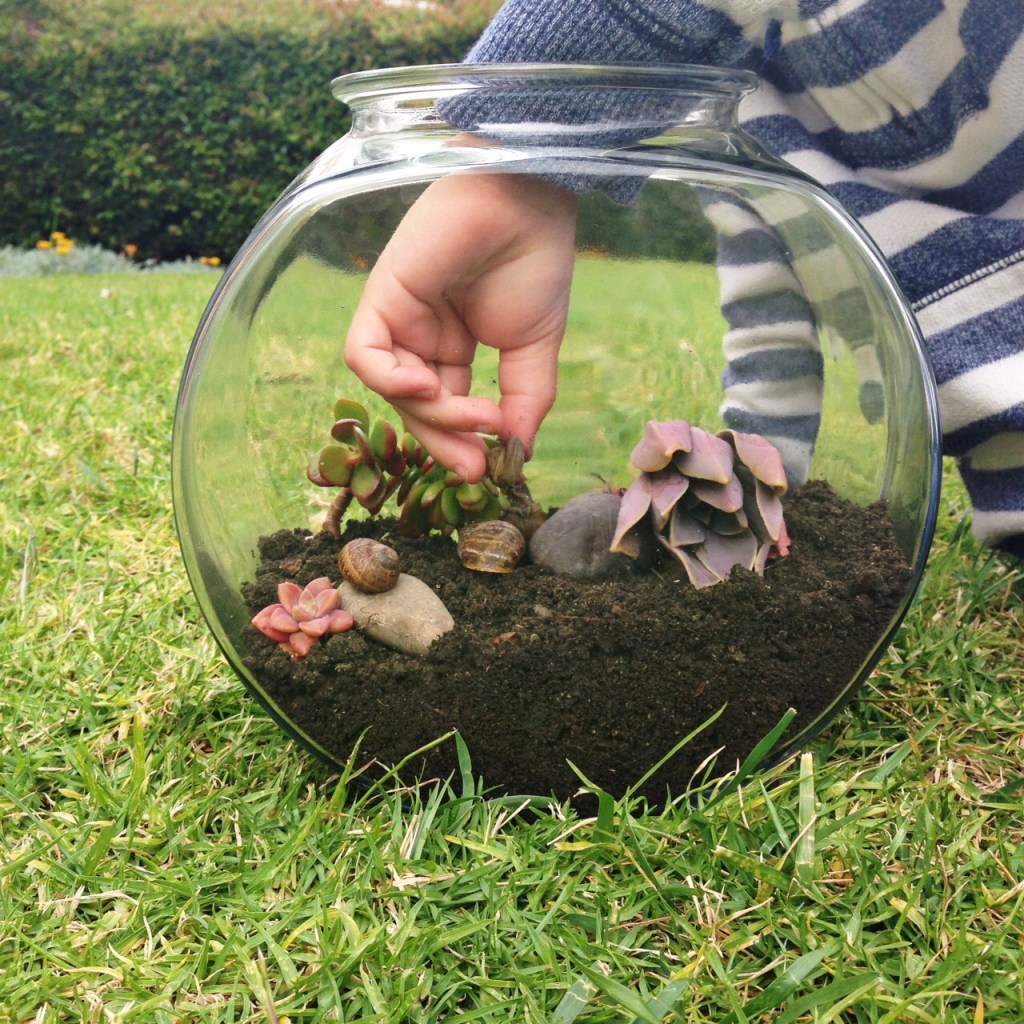
One day he came home from the park with four snails (a snail family, as he called it). He was really attached; I didn’t have the heart to make him put them back in the dirt right away. But I also wanted to make sure the snails were treated well and didn’t get the run of my house. So I came up with a fun and easy little snail terrarium DIY.

Charlie thought it was the best thing ever, and it turned out pretty cute, if I do say so myself. It sits on our lowest built-in bookshelf so he can sit on the floor and watch the snails and help feed them when necessary. This is a great project for summer fun with your kiddos and is a way to help teach them about the earth, life cycles, bugs, and mollusks.

Supplies:


Instructions:

Step 1: Start by adding dirt to your bowl. It is important to use dirt from the ground, rather than potting soil that comes in a bag, as potting soil has chemicals that can harm the snails.

Step 2: Once you’ve filled your bowl about ¼ to ⅓ full of dirt, insert any plants or succulents you want to include. These are mostly for appearance—the snails won’t eat succulents. I also added a couple of rocks, which the snails liked to climb on.

Step 3: Add your snails!

Step 4: Include a couple of carrots (snails like to eat carrots!) for food.

Step 5: Put cheese cloth or other breathable covering over the opening of the bowl and secure with a rubber band. Snails are strong and can try to push out, so it is important that you secure it with a strong rubber band and that air can flow through the cloth you choose. It needs very small holes, but not so large that the snail could fit through if it abandoned its shell.

One thing to note: I didn’t consider what happens to those carrots after they are eaten. Like food does, the carrots become waste. The snails left little orange carrot poop wherever they traveled. So after some time, you will either need to clean the terrarium or release the snails and call the project done. There was no smell, however.

And there you have it! A DIY snail terrarium that costs very little and will make you the hero of your own little bug-obsessed boy or girl.

More DIY Terrariums:

Save

Save

Save

Save

TRENDING
No content yet. Check back later!
X
Exit mobile version