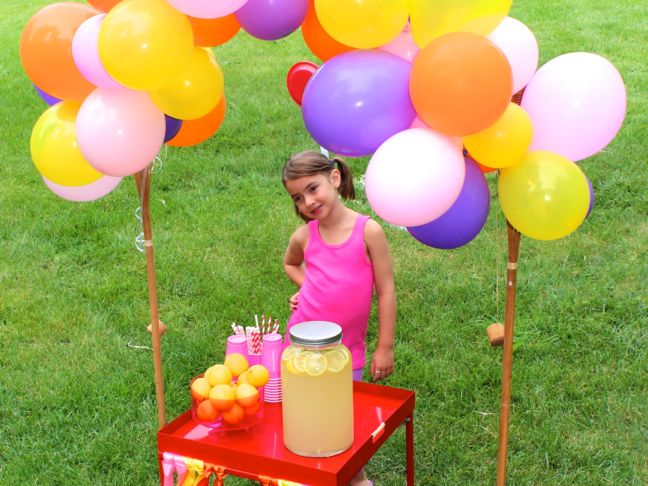
It’s hard to see a homemade lemonade stand, staffed by adorable neighborhood children, and not pull the car over. For just twenty-five cents, who can pass up a refreshing sip of lemonade, and the opportunity to support enthusiastic entrepreneurial spirits?
My kids have been begging me to host a lemonade stand. So, we went to work. I learned that lemonade stands are not only a full day’s activity, but also a good lesson in math, business, and development of the essential “people skills,” i.e., looking people in the eye and shaking their hands.
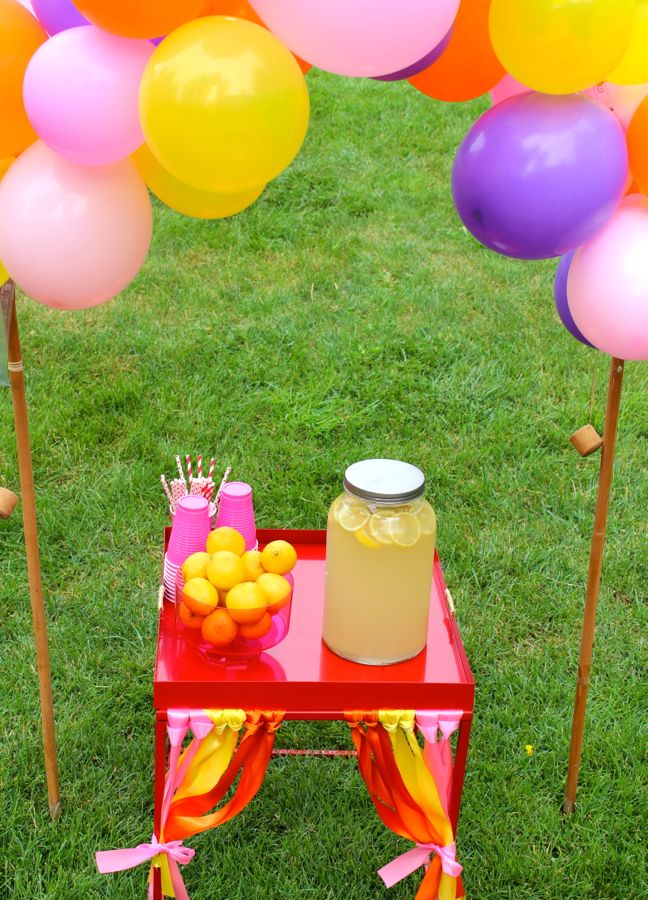
Here’s how you can make a lemonade stand like my family did.
Supplies:
- Balloons, helium quality
- Balloon Time helium tank
- Balloon arch decorating strip
- Tiki torches or long sticks
- An existing piece of furniture, or stand—I used a table I bought from Wayfair.
- Ribbon
- Lemonade stand essentials, such as the lemons, lemonade, straws, cups, pitcher or lemonade dispenser, and extra change
- Sign (optional)
Instructions:
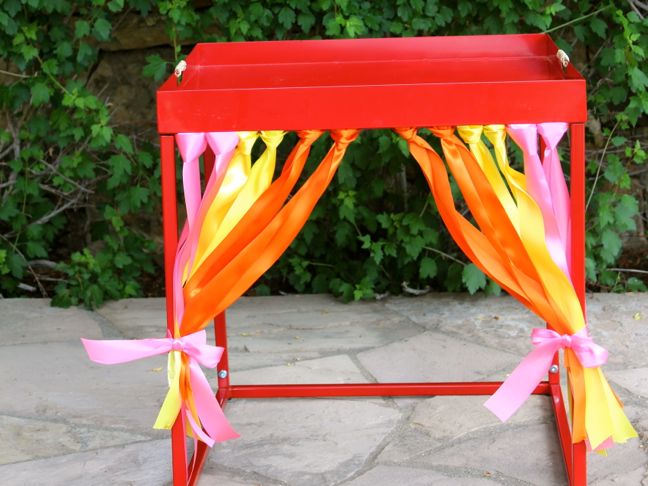
Step 1: Cut the ribbon two times the length of the table from top to bottom.
Step 2: Fold the ribbon in half, place it on the top of the table, and pull the two ends through a loop to tie a knot.
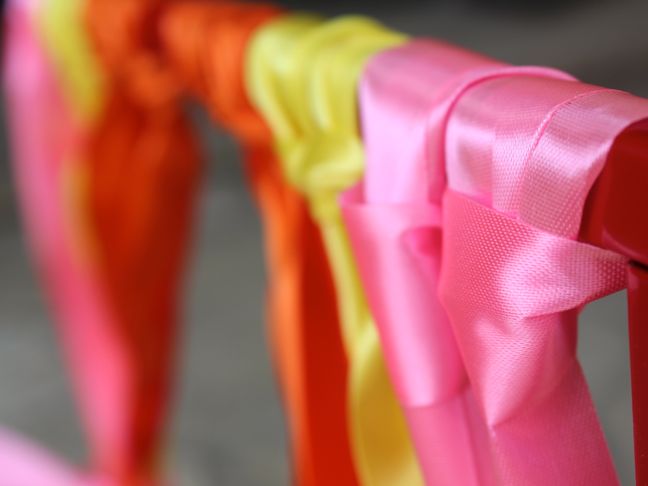
Step 3: Pull the ribbon strands apart to create a draped curtain look.
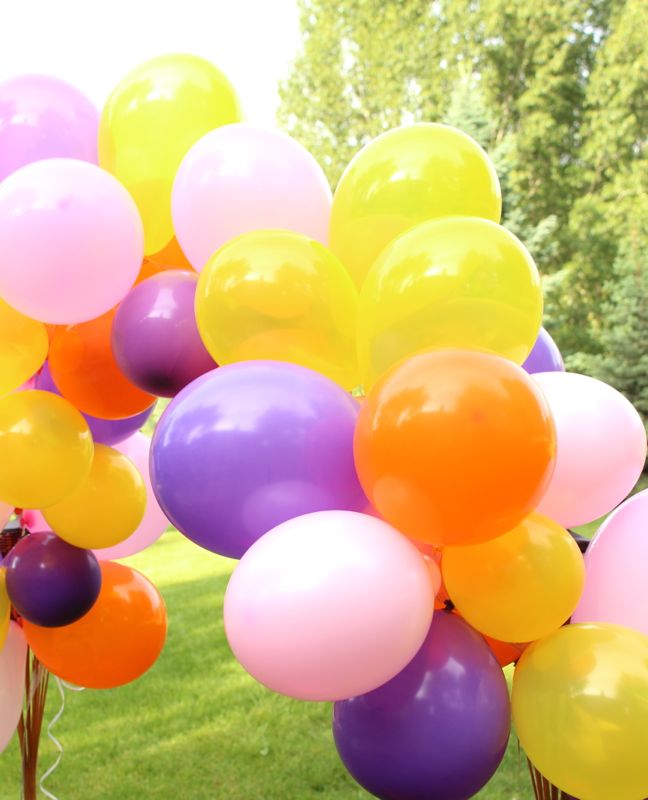
Step 4: For the balloon arch, blow up different color balloons with the Balloon Time tank (which is so easy and fun), and add to the balloon arch decorating strip. As you continue to add balloons, the arch will begin to float. I added some smaller balloons as well, but the smaller the balloon, the less it floats, so keep that in mind. Fill in the arch until it looks full.
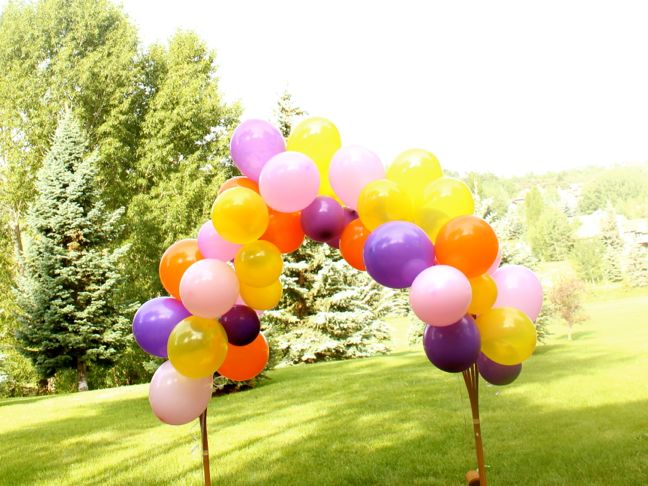
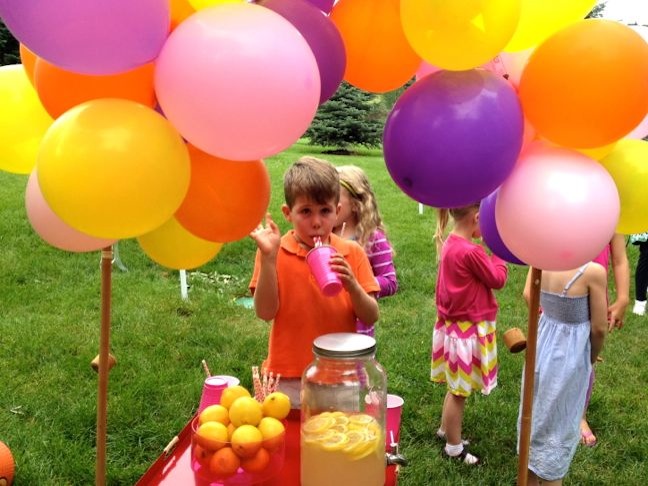
Step 5: Use ribbon to tie the balloon arch to the tiki torches. You can avoid the tiki torches altogether if your table is wide enough. (Then you can just attach to the ends of the table.) My table was too small to create the arch because it covered the kids’ faces.
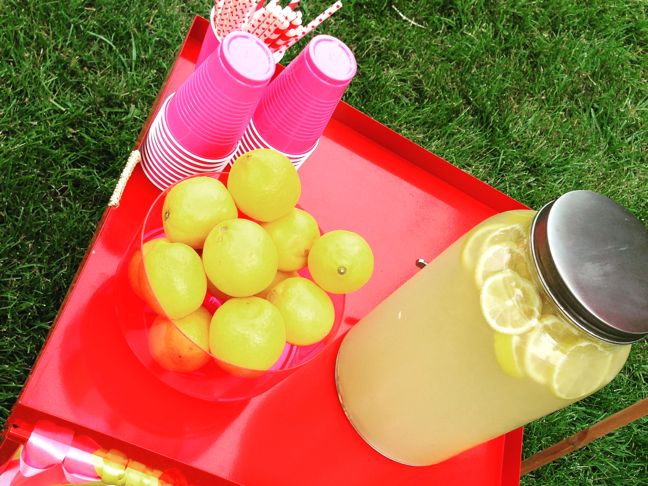
Step 6: Set up the table with lemons and lemonade in a large pitcher or dispenser, as well as the lemonade accessories. Enjoy!
More Lemonade Ideas:
