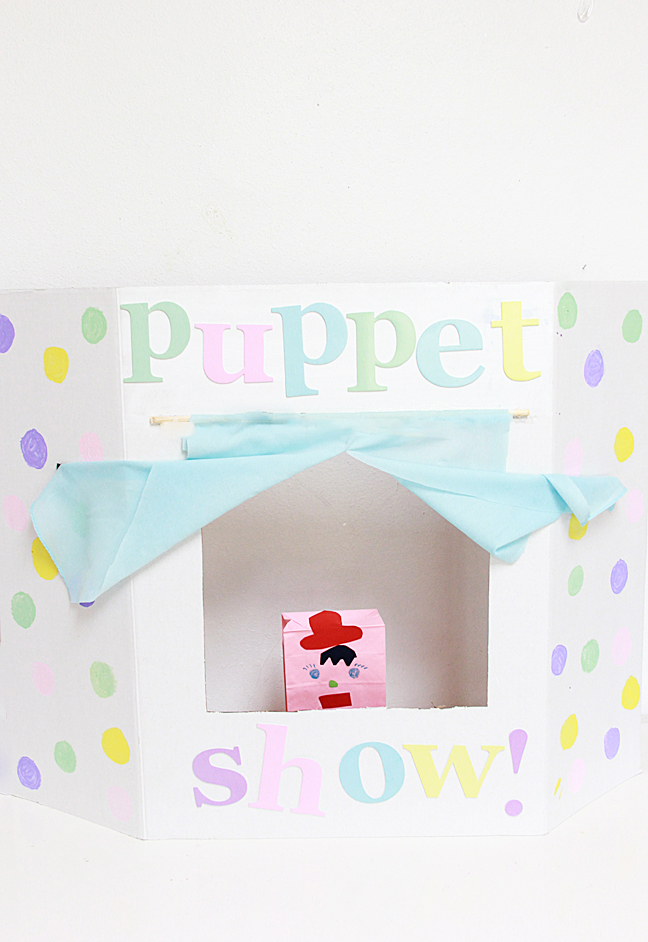
My daughter loves puppet shows; after seeing her first one, we came home and made a ton of puppets out of paper bags. I thought it would be fun to create a little cardboard puppet theatre for her—and the best part is it folds up flat so you can store it easily. We keep ours behind the toy shelf!
Supplies:
- Cardboard box
- Craft knife
- Stickers/paint/markers (whatever you want to decorate with!)
- Fabric
- Wooden dowel
- Super glue
- Scissors
- Velcro
Instructions:
Step 1: Cut out a large square using the craft knife.

Step 2: Decorate! We used large stickers and painted polka dots all over the box. My daughter did one of her own and scribbled with markers and it has CARS stickers everywhere.
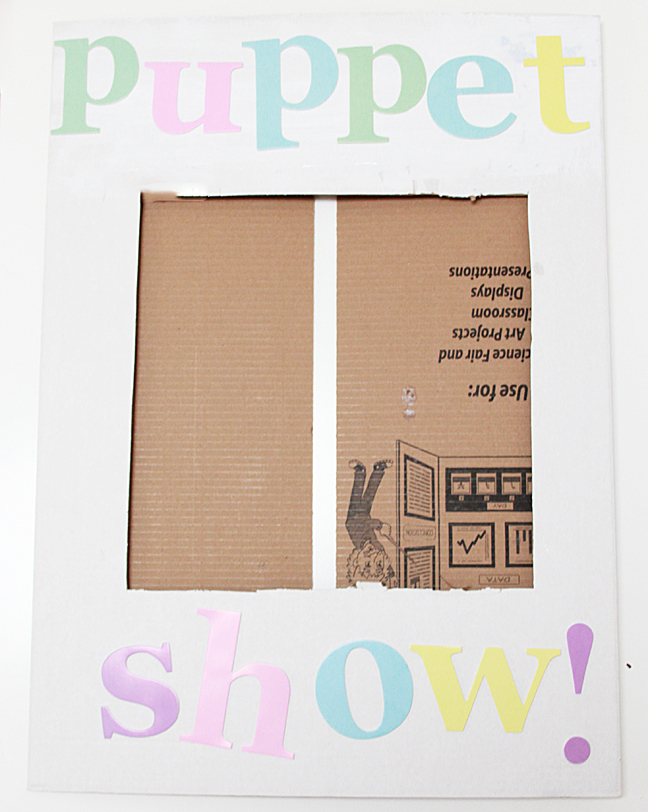
Step 3: The curtain is the only tricky part, but if you can use glue, you are fine! Cut out a piece of fabric two inches longer than you need to cover the open “theatre” section. Cut the wooden dowel long enough to go across the open theater section. Glue the curtain to the wooden dowel.
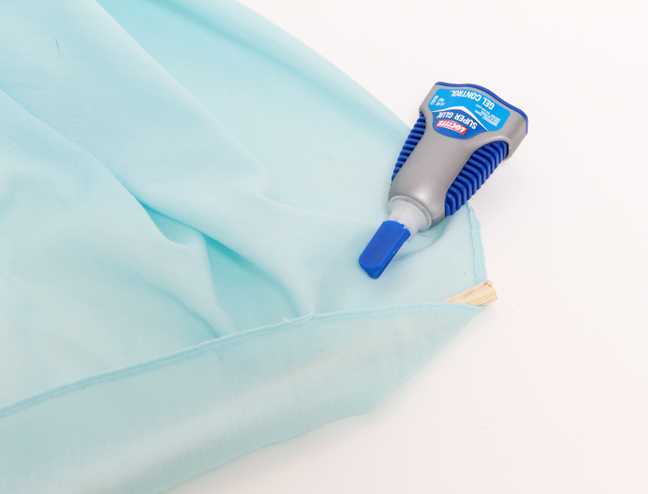
Step 4: Glue wooden dowel to cardboard. Cut the fabric down the middle to create the “curtain.”
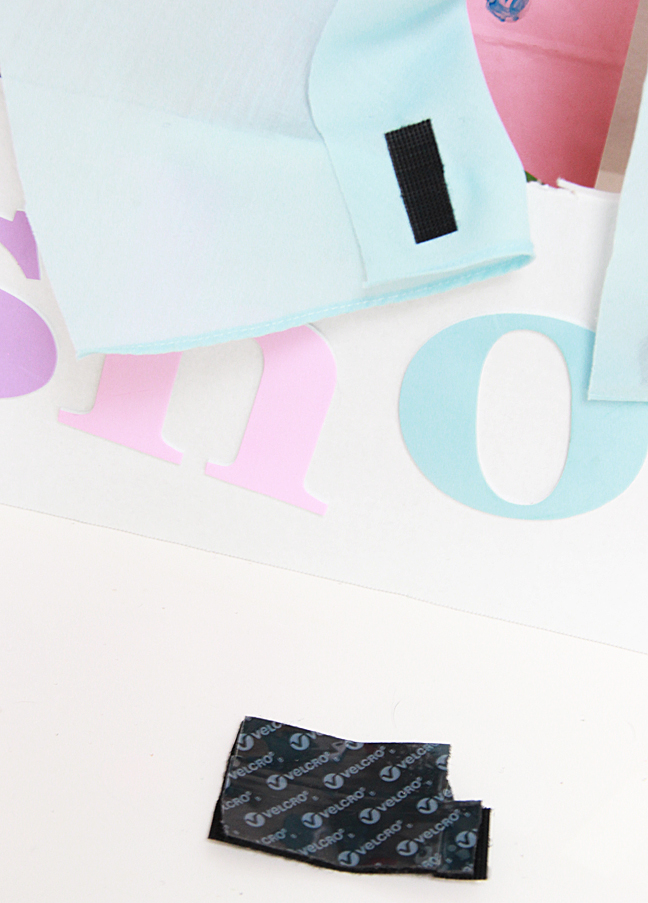
Step 5: Attach Velcro to both sides of curtain, and pull back the curtain and attach the other piece of Velcro to the cardboard box!
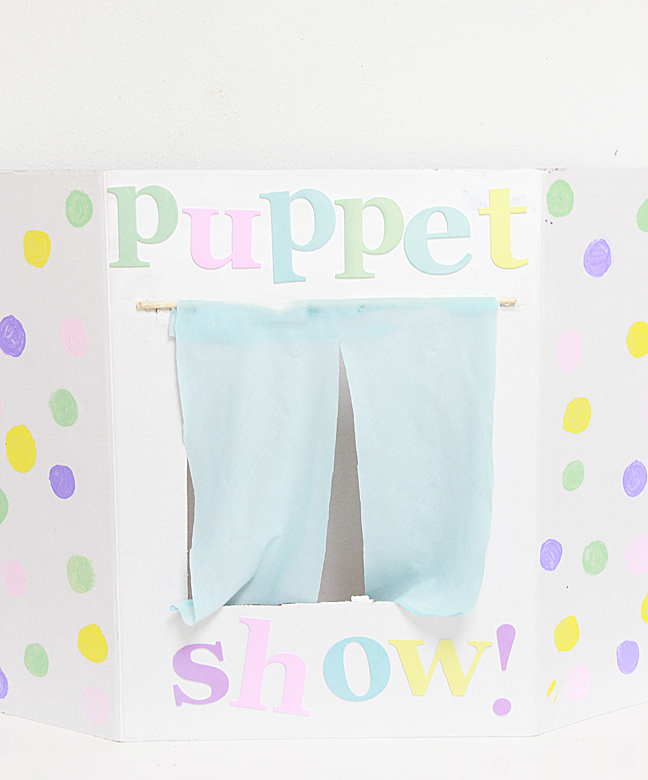
The little pink puppet is one my daughter made—cute! My daughter loves her new cardboard theatre; I love that it is hours of imagination play for her, and I l also love that it folds flat and does not take up space like the bajillion other toys she has!
More DIY toy theatres:


