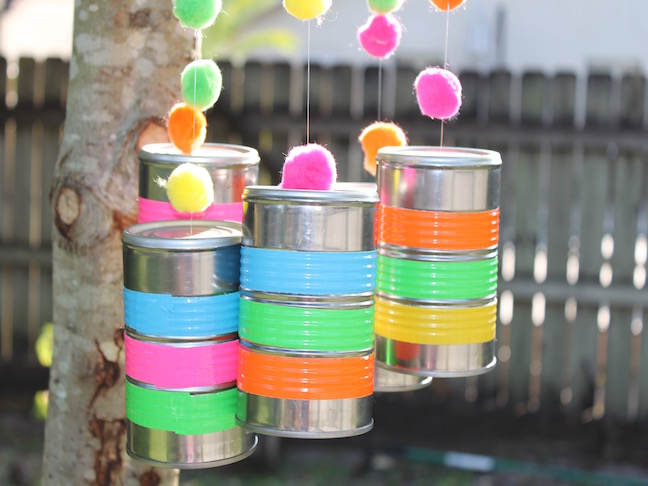
I don’t know about you, but I love windy days. I love the cool breeze blowing against my cheeks. I also love the soft clinks of my neighbor’s wind chimes. As my son and I were relaxing on our hammock the other day, listening to the chimes, we decided to make our own DIY wind chimes.
My son loves to repurpose items around the house to make new things. So after some brainstorming, we figured to make some DIY wind chimes out of recycled tin cans. (I have plenty of them. I’m addicted to garlic roasted garbanzo beans. Mmmm!)
We wanted to make the chimes colorful and fun, so we used duct tape to decorate the cans. (We tried covering the entire can with duct tape, but the duct tape muffled the clinking sound.) As I found out from these birdhouses I made last year, duct tape can withstand the elements. We also added the craft pom poms for a fun pop of color.
Don’t you think these DIY wind chimes are cute enough to use as a mobile for a nursery?
RELATED: 31 Crafty Ways to Upcycle Wine Bottles
Supplies:
- 6” embroidery hoop
- fishing line
- craft pom poms
- yarn or tapestry needle
- six cleaned tin cans
- duct tape
- hammer
- nail
Instructions:
Step 1: Wrap duct tape around the tin cans.
Step 2: Starting with one tin can, hammer a nail into the top of the can.
Step 3: Thread your fishing line through the hole of the tin can. Tie a big knot at the end of the fishing line.
Step 4: Use your needle to thread the pom pom onto the fishing line. Repeat for all six cans.
Step 5: Tie all of the tin cans onto the embroidery hoop. Then tie some fishing line onto the hoop to tie it to a tree.