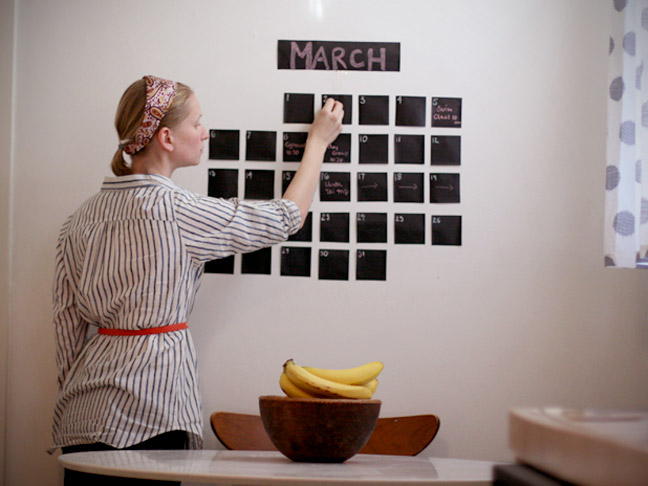
We love chalkboards lately and they’ve been popping up in all kinds of paint and paper to decorate your home and home office.
This is a fun idea to take strips of chalkboard contact paper and make a simple and versatile calender to stick to your wall to keep on schedule month after month.
Supplies:
- Chalkboard contact paper
- Exacto Knife
- Straight edge ruler
- Chalk
- Sticky tack (optional)
Cut strips of your chalkboard contact paper 3” wide. FYI I bought my chalkboard contact paper online from amazon, sometimes it’s hard to find in craft stores.
The roll I had was 18” long, so I started cutting squares 3” x 3”. 6 squares per row.
Then cut one longer strip, about 3” x 8” for the month.
Lay your squares out and start writing on them the days, and any events you want on your calender. It’ll be easier to write them before putting them up.
You can simply peel off the back layer to stick it to the wall, or if you’re nervous about paint peeling off like I was, simply place a couple pieces of sticky tack to the back of each piece and leave the paper backing on.
The chalkboard contact paper wipes off really easily. You and your family will have fun writing in events and decorating month after month!
