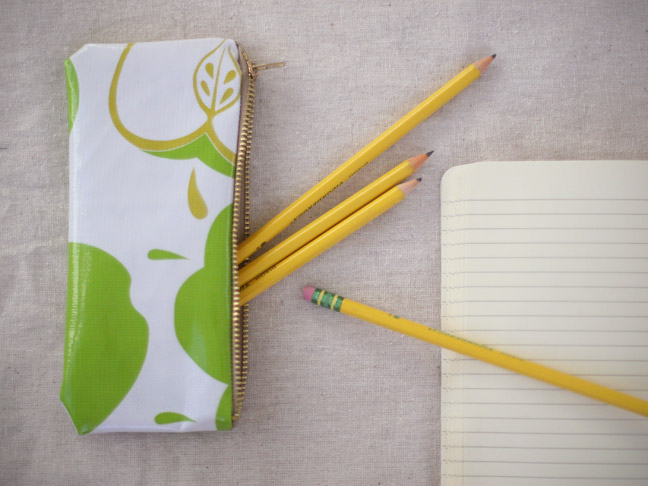
DIY Oilcloth Zippered Pencil Case

When I first learned how to sew a zipper, I felt like it took my sewing skills to the next level. It’s really not as hard as it seems! I’ve put together a simple tutorial for an adorable oilcloth pencil case to help you learn this intermediate sewing skill. Once I made one of these, I wanted to whip up more and more…they’re durable and cool enough for the kiddos to take to school, and they also make great travel pouches to hold everything from lip gloss to credit cards and car keys.

You can substitute cotton for the oilcloth if you’d like, but oilcloth will hold its shape much better.

Supplies:

  • Oilcloth
  • zipper (8”)
  • pins
  • scissors
  • sewing machine and matching thread

RELATED: 31 Free Freezer Paper Stencil Templates for T-Shirts & Totes

Instructions:

Step 1: Measure your zipper across and cut two matching pieces of oilcloth the same length x 4” height. My zipper was 8” so my oilcloth pieces were 8” x 4”.

Step 2: Holding the right sides together, place one oilcloth piece on top of the zipper, lining up the edges.

Step 3: Sew a simple basting stitch (and long loose stitch) to hold it in place temporarily.

Step 4: It should look like this after you finish the basting stitch. Open up the zipper now.

Step 5: Using a zipper foot on your sewing machine, sew along that basting stitch, very close but not on top of the metal zipper.

Step 6: Do the same with the other piece of oilcloth and the other side of the zipper.

Step 7: It should look like this when done, after finger-pressing it open.

Step 8: Fold the sides back on top of each other, right side to right side. Making sure to leave the zipper open, stitch the other three sides together on the machine with about a ½” seam.

Since the zipper is open it should be easy to fold it right side out, and it should look like this when you’re done!

Now you’ve got a fun and stylish way to store your pens and pencils. More importantly…you sewed a zipper. Bravo! Welcome to the intermediate sewing club.
 
This post is sponsored by Mott’s.

More DIY Projects:

TRENDING
No content yet. Check back later!
X
Exit mobile version