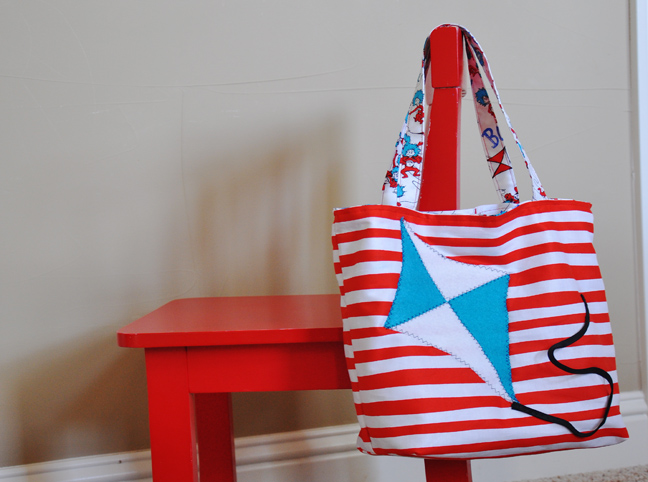
DIY: Dr Seuss Book Bag

Dr. Seuss was the inventor of Fun and Kookiness.  And, with his birthday quickly approaching, what better way to celebrate than to create a simple book bag so the kiddos can carry around all that imagination with them.

Materials

  • ½ yard material for exterior
  • ½ yard material for the lining and straps
  • 1- 3”x 8.5” cardboard piece
  • Sewing machine and supplies


Instructions:

Cut your fabric:

2- 14”x14” exterior

2- 14”x14” lining

2-  3”x20.5” straps

Iron one of the strap pieces in half lengthwise to create a crease.  Open up and now turn in one side to meet the creased middle and press..  Repeat on the other side.  Now you have an encased strap.  Press closed.

Sew an edge stitch along the open edge.  Turn the strap around and sew an edge stitch down the other side.  Repeat these steps with the other strap.

Take all four 14”x14” pieces and iron down a ½” on the top, wrong sides together.

Take one of the exterior pieces and attach one of the straps to the wrong side.  Place the strap 3.5” from the edge on both sides and baste in place.  Repeat with the other exterior piece and the other strap

Place the two exterior pieces with straps attached, right sides together and sew  along the sides and bottom using a ¼” seam. 

To create the bottom corners, take one of the bottom edges and turn it so the corner makes a triangle.  Measure 2” up from the corner stitch.  Sew a straight line from end to end, making sure to backstitch.  Clip corners. Repeat these steps (minus the straps) with the lining

Take the cardboard and place it directly on the now squared bottom, centering it between the seams.  Sew the cardboard directly on to the fabric. Turn the bag right side out.

Insert the lining piece into the exterior piece wrong sides together

Carefully pin top edges together, making sure side seams match

Sew 2 lines, one ¼” from top, and one edge stitch to the inside of the ¼” stitch

Now, head to the library!

TRENDING
No content yet. Check back later!
X
Exit mobile version