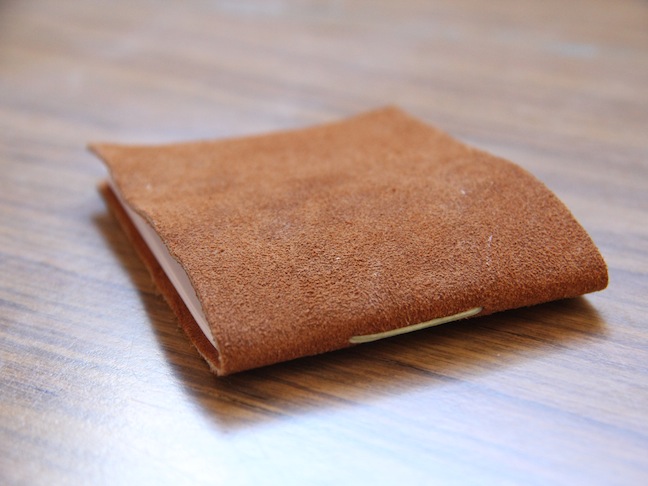
DIY: Leather Notebook

Everyone could use a little notebook, right? And a soft, pretty leather one is all the better!

Here is what you’ll need:

  • Piece of leather – you can get small pieces at most craft stores.
  • Paper
  • Scissors
  • Waxed thread or string
  • Awl
  • Pen
  • Ruler
  • Paper cutter
  • Needles


Measure and cut your leather to the size you would like. Mine is 9.75 inches long and 3.5 inches wide.


Now you’ll need to do a tiny bit of math. Make the paper 1/4 inch shorter in length and 1/4 inch smaller in width. Making the my paper 9.5 inches long and 3.25 inches wide. Cut as much paper as you would like for your notebook keeping in mind that there will be twice as many pages as there are pieces of paper since the paper will be folded in half.


Take the ruler and choose two points equal distant from each other and the edges of the paper. Mark those points with a pen.


Take the awl and puncture those points. Do this to all of the paper using the first piece of paper as a guide instead of remeasuring and marking each page.


Using the holes in the paper as a guide, mark the leather in the same spots.


Puncture those markings with the awl.


Put all of the pages together.


Take the two needles and thread them both with the same piece of thread. I know it sounds weird 🙂 My needles are bent because of other bookbinding I do, but you can use regular old straight needles.


Putting a needle through each hole in the pages, pull the thread all the way through. Don’t pull to hard, just make it snug.


Then put the needles through the holes in the leather.


Pull the thread all the way through making the pages snug against the crease in the leather.


Now this part can seem a bit tricky. Take the already pulled through thread and put one needle in the opposite hole and do the same with the other needle and hole. Kind of criss-crossing them.


Hopefully that makes sense! This is what it should look like after putting one of the needles through the opposite hole.


And this is what it should look like inside. Pulling the thread and needles all the way through.


Pull the thread snugly again and using the part of the thread connecting the two holes, loop both sides to make a knot on both sides.


Then cut the ends of the thread leaving a tiny but of thread ensuring the knot doesn’t get cut.


And you’re done! Pretty easy, right? Once you get the hang of it, you can make a several at a time!


Enjoy your new notebook!


TRENDING
No content yet. Check back later!
X
Exit mobile version