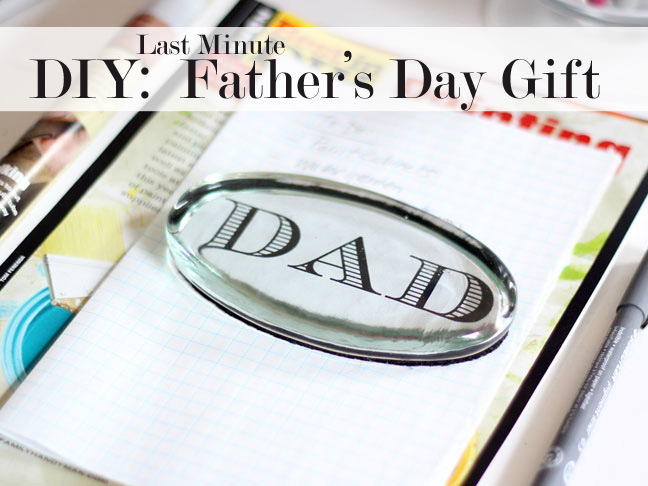
DIY: Last Minute Father’s Day Gift

This paperweight is easy to make and costs only a few dollars.  Since it is so easy – it is a kid friendly project, too.  Normally it would take overnight to dry, but with the help of a blow-dryer it can be completed very quickly – just in time to give your dad for Father’s Day. 

Supplies Needed:

  • Glass paperweight – Michaels crafts store sells them in their $1 bins. They have floral images that you will remove.
  • Mod Podge
  • Paint brush
  • Computer print out of the word “DAD”.  I used card stock, but regular printer paper will work also.  I used the font, EcuyerDax. You can download it for free – click here.
  • Black felt
  • Scissors
  • Water


1. To remove the paper image that comes on the paperweight, soak the paperweight in water for a few minutes and then rub the felt and paper off.  Wash and let dry.

2.  Print out the word DAD. I used 124 pt size of the font EcuyerDax.

3. Center the paperweight over the printed image and use a pencil to trace around the image.  Do the same for the felt. Cut each one out.

4.  Center and tape the cut out image face down to the back of the paperweight. Trace around the inset area with a pencil.

5.  Remove the image and then cut carefully along the pencil line.

The layers of the paperweight – glass, printout, felt.

6. Brush on an even thick coat of Mod Podge on top of your printout.  Don’t move the brush around too much as you don’t want to smear the ink.  Let it dry thoroughly on a flat surface. When it is dry it will be clear and shiny.

7.  Add a second even coat of Mod Podge over your image and then spray it lightly with water or use a clean damp rag to wet the image.   Roll or brush a thin even coat of Mod Podge on the back side of the glass.   Place print face down on the back of the glass. You will have a few minutes before it dries to get it into position.  Use a wet finger or piece of felt to gently go over the back of the paper to get rid of any air bubbles and creases.  Keep your finger wet and your touch light so you don’t rip the paper.  Turn the paperweight around to make sure all the air bubbles are out.  Press from the center out to the sides to remove them.

If you want to speed the drying time, use a hair dryer. 

7.  After you have the paper adhered to the glass – apply Mod Podge to the the back of the image and around the glass border. Lay felt over and center. Let dry. 


8. Until the Mod Podge dries the image will look milky. It will dry clear. 

TRENDING
No content yet. Check back later!
X
Exit mobile version