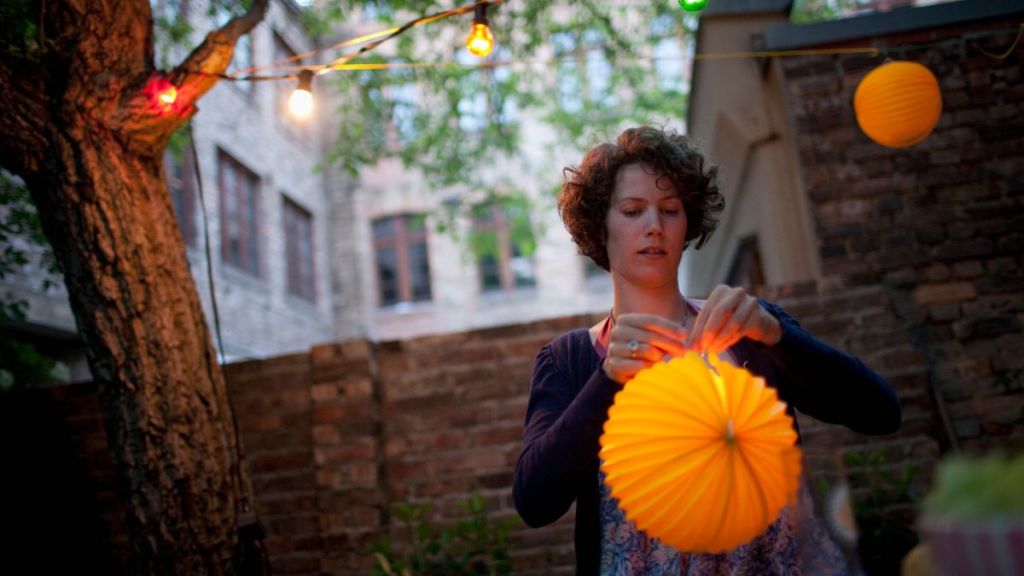
With the arrival of fall, pumpkin crafts are a must-try for every family. It is an activity that kids and adults alike look forward to every year. While working with the actual pumpkins for Halloween is super fun, how about making DIY pumpkin lanterns with paper instead to keep the fall vibes around throughout the colder months? This craft…
There was a problem loading this page. Please ensure JavaScript is enabled on your browser and any ad blockers are disabled.
Related
Although the ghosts, goblins and bats have flown away until next Halloween, the pumpkins scattered around my house remain. When…
Is there anything more satisfying than an apple dessert in the fall? Some people love pumpkin but I’m more of…
I've got a fun & super-easy way to bring some festive fall color into your kitchen or living space.
If you are running out of ideas for Halloween-worthy sweet treats for your kids, you need to try this secret…
