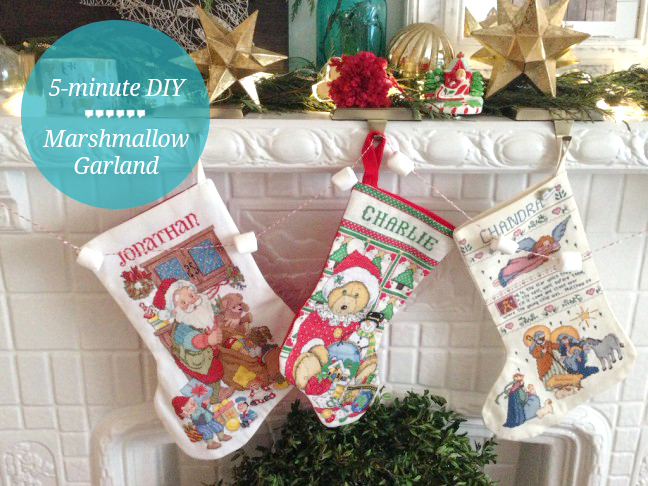
What is it about the holidays that makes you want to DIY everything? Regardless, it’s also such a busy time that the last thing we need is to be drowning in complicated DIY projects—who has the time? I’ve come up with a super simple project that’s fun for the whole family: this easy DIY marshmallow garland. As a bonus, the leftovers are delicious!
Supplies:
- a bag of large marshmallows (if you’ve already opened and eaten a few, you can just use the rest!)
- thread, thin yarn, or bakers’ twine
- a large-eyed needle
- scissors
Note: This DIY does involve a needle, so little hands can’t help with the stringing, but can hand out the marshmallows and spread them down the twine. Older kids could probably help with the stringing; use your best judgement.
Directions:
Step 1: Thread your chosen string through the large eye of the needle.
Step 2: Push the needle completely through the center of the marshmallow.
Step 3: Pull the needle and string through the marshmallow and pull marshmallow down toward the other end of your garland string (which should be as long as you want your garland to be).
Repeat steps 2 and 3 over and over until you have as many marshmallows as you want on your garland.
Once you have your desired number of marshmallows strung, you can spread them out however you like. You can cluster them together or evenly space them. Since the marshmallows can be sticky, they should stay in place – just remember that the more you move them around the stickier you may make your string.
Step 4: Hang your garland!
A marshmallow garland makes a great bar cart addition, and you can put the extras in a bowl on your bar cart as decor or for drink garnishment. Or, you can add it to your mantle. I sort of love the over-decorated mantle look.
Where would you hang your marshmallow garland?