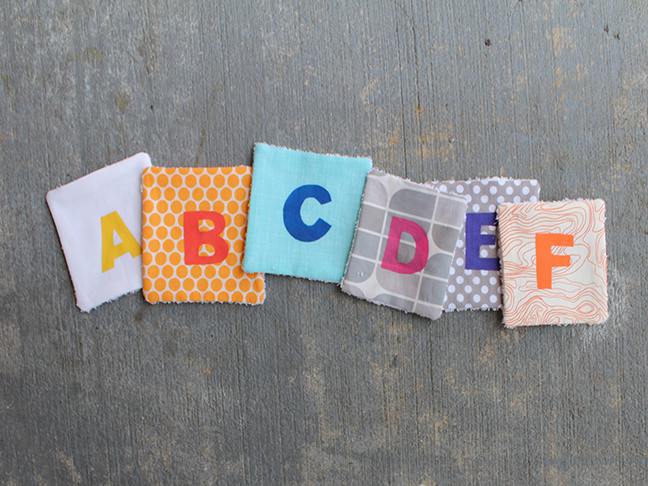
Are you a multi-tasking super mom? This project is for you. How about teaching your little ones their ABCs while sipping your morning cup of joe! Make these easy coffee table coasters and embellish them with the ABCs. These alphabet coasters are an easy project for the whole family to get involved and take learning to the next level.
Supplies:
- Cotton fabric in various colors and terry towel—this is a great fabric scrap project.
- Sewing machine and related supplies
- Various colors of fabric ink and sponges
- Reynold's freezer paper
- Cutting mat and X-Acto knife
- Rotary cutter and ruler and/or sewing scissors
- Pen, paper, and cardboard
- Printed letters to trace
- Iron and ironing board
Instructions:
Step 1: Lay fabric flat onto cutting surface. Using your rotary cutter or scissors, cut out squares measuring 5" x 5". Cut 26 squares from various colored pieces of fabric. Cut another 26 squares from the terry towel.
Step 2: Print off the alphabet from your computer. Pring each letter approximately at a 180 font size.
Step 3: Place the freezer paper on top of the printed letters. Shiny side is facing down. Trace the entire alphabet. Leave a space between each letter. Use an X- Acto knife and carefully cut out each letter. Make sure to NOT cut into the corners. The fabric ink will bleed into any areas where there are small knicks. Remember to keep the center pieces from the As, Bs, Os, Ps, etc.
Step 4: Place freezer paper shiny side down onto the fabric squares. Center your letter. Press the freezer paper in place with a hot iron. Make sure to press down and have each corner set onto the fabric.
Step 5: Place a piece of coardboard under fabric. Squirt fabric paint onto a separate piece of freezer paper. Dip sponge into the ink and dab onto the fabric. Do NOT goop the fabric ink. While the ink is still wet, peel the freezer paper from the fabric. Repeat for all 26 letters. Set aside for a few hours to dry.
Step 6: Place fabric with the letter right side down onto terry towel. Pin in place if needed. Place into sewing machine and stitch with a ½" seam allowance. Leave a 1 ½" opening on one side.
Step 7: Press with an iron. Clip all the corners. This step is to help trim away the excess fabric away from each corner.
Step 8: Turn right side out. Wiggle corners into place. Turn opening seam allowance under ½". Press the coaster with a hot iron. Place into your sewing machine and edge stitch around the outside. Repeat for all 26 letters.
Step 9: Lay the coasters down and check out your great work!!
More DIY Craft Projects:
