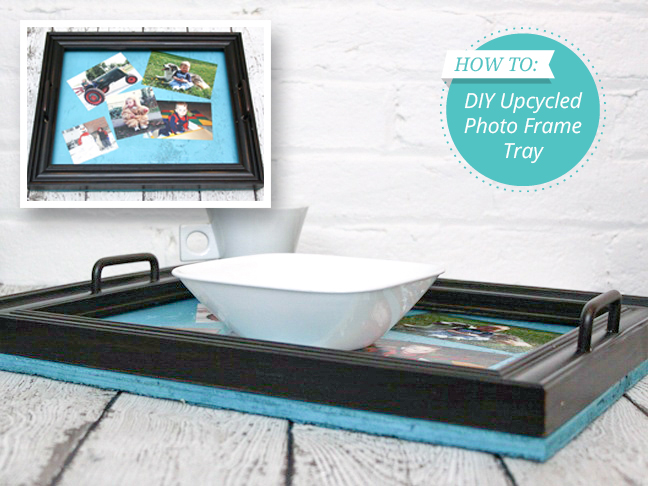
DIY: Upcycled Photo Frame Tray

photo-frame-serving-tray

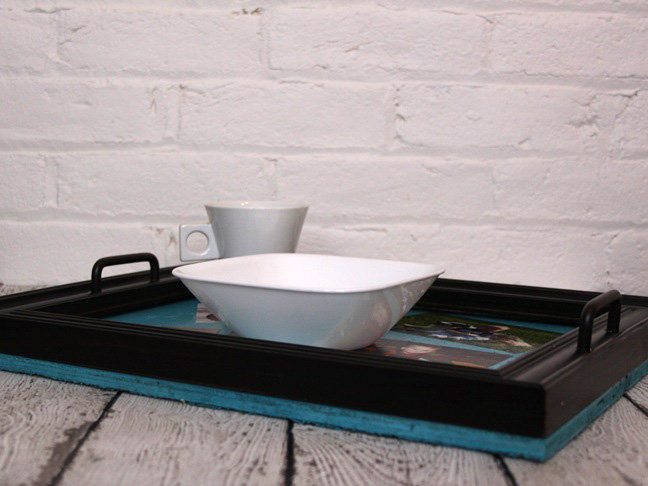
Your special someone will enjoy getting breakfast in bed served on this one-of-a-kind upcycled photo frame tray. The tray makes a wonderful gift idea for Mom on Mother’s Day or for Grandma on Easter. Decoupage copies of their favorite photos to the top of the tray, then serve them breakfast in bed to give them the perfect morning.

Supplies:

  • photo frame: 11 x 17 inches
  • plywood piece: at least 11 x 17 inches
  • spray paint: to coordinate with frame
  • Mod Podge
  • foam brush
  • 4-5 of your favorite photos
  • cabinet handle sets: 2
  • screws: 4
  • drill
  • screw driver
  • polyurethane spray paint
  • photo cutter or scissors

Instructions:

Step 1: Place the photo frame on top of the plywood board, and trace around the frame onto the board.

picture-frame-serving-tray-step-1

Step 2: Cut the board to fit the back of the frame.

picture-frame-serving-tray-step-2

Step 3: Paint the board in a color to coordinate with the frame.

Step 4: Once the paint has dried, cut and arrange your photos on the center of the board.

picture-frame-serving-tray-step-4

Step 5: Use the Mod Podge to “glue” the photos to the board.

Step 6: Let the photos dry for about 30 minutes, then add a second coat of Mod Podge over the top of the photos.

picture-frame-serving-tray-step-6

Step 7: Let the Mod Podge dry completely, spray the board with a coat of polyurethane, then set it aside to dry.

picture-frame-serving-tray-step-7

Step 8: While the board is drying, remove the glass and backing from the frame.

Step 9: Fasten the cabinet handles, one to the center of each end of the frame, by drilling holes and inserting the screws enclosed with the handles.

picture-frame-serving-tray-step-9

Step 10: Place the board on the back of the frame so the photos are showing through the hole in the frame.

Step 11: Flip the frame and the board upside down, and drill a hole in each of the corners of the board and into the frame. Be careful to not drill all the way through to the front of the frame.

Step 12: Fasten a screw into each of the holes to hold the frame and board together, and make the serving tray sturdy enough to carry food.

picture-frame-serving-tray-final-2

Step 13: Use the tray to serve breakfast in bed to that special someone. 

picture-frame-serving-tray-final-1

picture-frame-serving-tray-final-3

More Mother's Day DIYs:

TRENDING
No content yet. Check back later!
X
monitoring_string = "b24acb040fb2d2813c89008839b3fd6a" monitoring_string = "886fac40cab09d6eb355eb6d60349d3c"