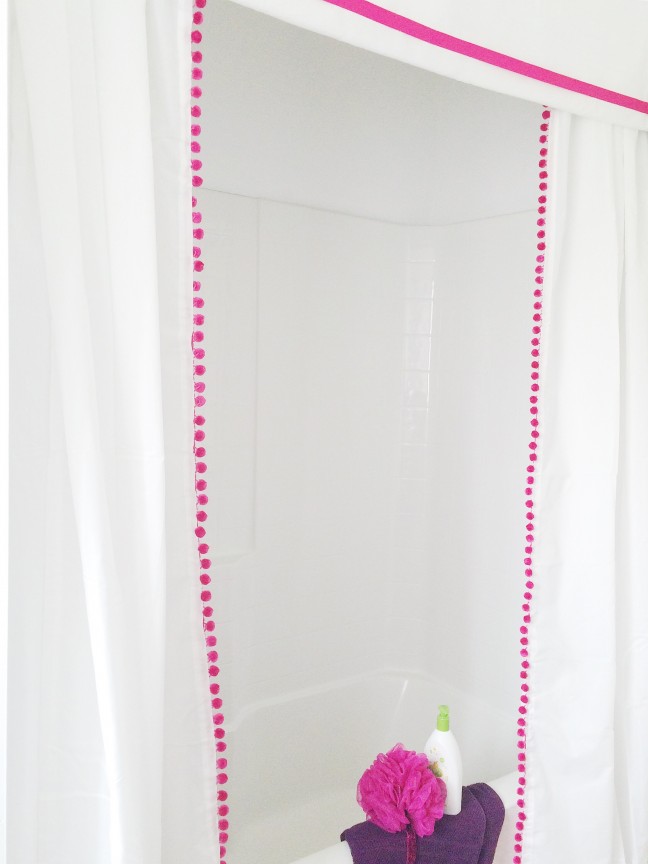
We finally painted the kids’ bathroom with a fresh coat of white to erase the basic builder beige that we’ve dealt with since we moved into our house. Now, we have the perfect blank canvas to add some fun accents to their bathroom. I was tempted to go color crazy, but I opted to add pops of bright color throughout the white space by adding fun posters and bright towels. Our big white tub/shower was the last to-do on my list, and I couldn’t find the right curtain. So, I did what any crafty mom would do: I made my own. I have lots of craft skills, but my sewing skills leave much to be desired. So this DIY no sew pom pom shower curtain and valance adds a fun yet sophisticated flair to the bathroom.
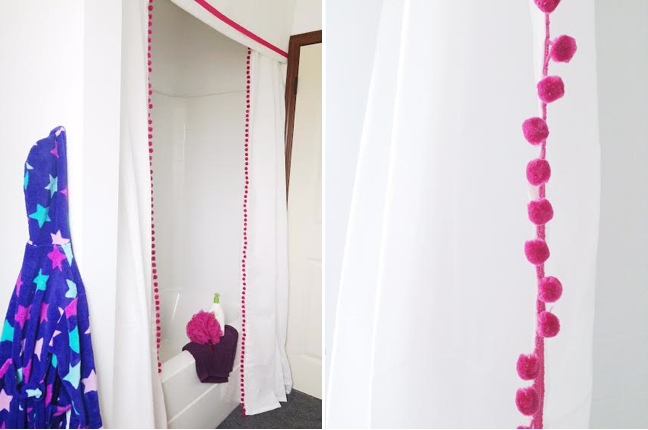
I love how this project added a much needed punch to the girls’ all white bathroom. Now, the colorful posters we have (they remind the girls to wash their hands and brush their teeth) in their bathroom feel right at home.
Supplies:
- IKEA Vivan window panels or similar lightweight curtains
- matching fabric (or a third panel/curtain) yardage cut to 6″ wider than your shower and 1 yd high
- small package of quilt batting (optional)
- pom pom trim
- matching grosgrain 1″ ribbon
- hot glue gun and glue sticks
- 3 white foam core boards
- measuring tape
- clear masking tape
- pencil
- scissors
- craft knife
- popsicle sticks (optional)
- small hammer
- wood or similar small nails
Instructions:
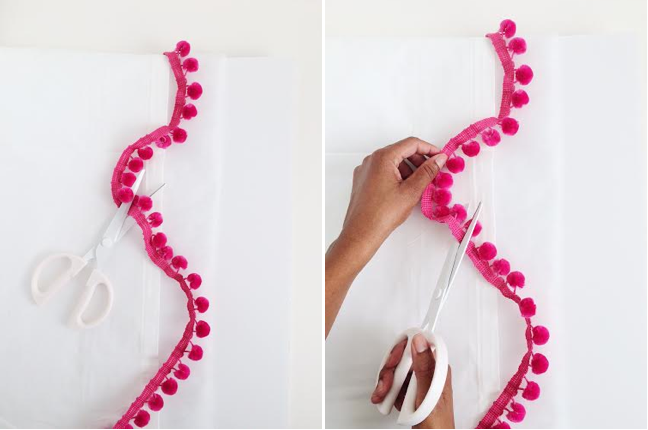
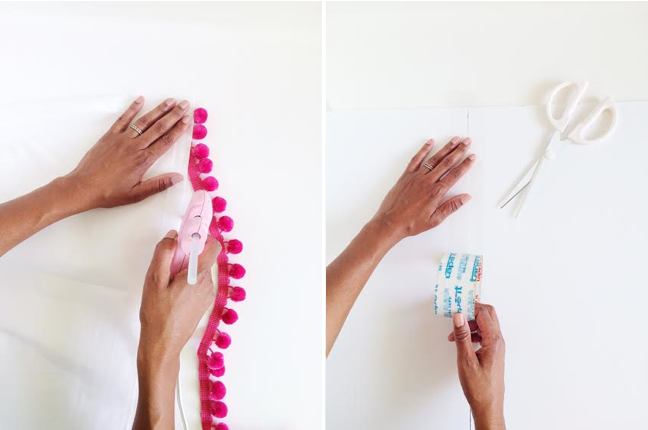
Step 1: Measure and cut pom pom trim equivalent to the height of the curtain panels. Using hot glue, adhere the trim’s band to the vertical edge of the curtain so that only the pom poms are visible. For the curtain that will hang on the right side of the shower, attach poms to the left vertical side. For the curtain that will hang on the left side, glue the poms to the right side. Set aside to cool.
Step 2: Measure the width of your shower from wall to wall. Lay the foam core boards end-to-end to create a long rectangle the width of your shower opening. Add 6″ to your measurement, and cut the last board to that length. Attach the pieces together by running clear masking tape along each seam on the front and back sides of the foam core. If the completed foam core valance bends rather than staying rigidly straight, reinforce it by adhering several clean popsicle sticks perpendicular to the seams using hot glue. Cut about 5″ off of the bottom of the foam core rectangle to make it a little narrower. My finished foam core was 2″x3″.
Step 3: Measure 3″ from the end of the foam core board, draw a light pencil line vertically to mark the measurement, and then use the craft knife to score along your line. Do not cut all the way through the foam core. This score line will allow you to fold the foam core to attach it to your walls above the shower. Repeat on the other end of the foam core.
Step 4: Measure and cut the quilt batting to wrap completely around your foam core valance. Secure the batting to the back side of your valance with hot glue. Be careful to allow the glue to cool slightly before pressing the batting into the glue. Repeat this process with the additional fabric. Set aside to dry.
Step 5: Add a decorative ribbon border to your valance. Measure and lightly trace a guideline with pencil for where you’ll place your ribbon. Create a ribbon border along the bottom edge of the valance, or a rectangular box border outlining the center of the valance; or use several strands of ribbon to create a striped border.
Photos by Shauna Younge of Sweet Tooth for Momtastic
More No Sew Home Decor DIYs:


