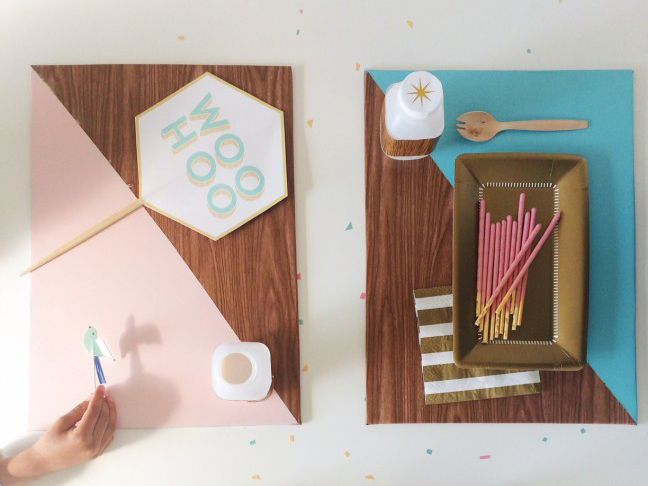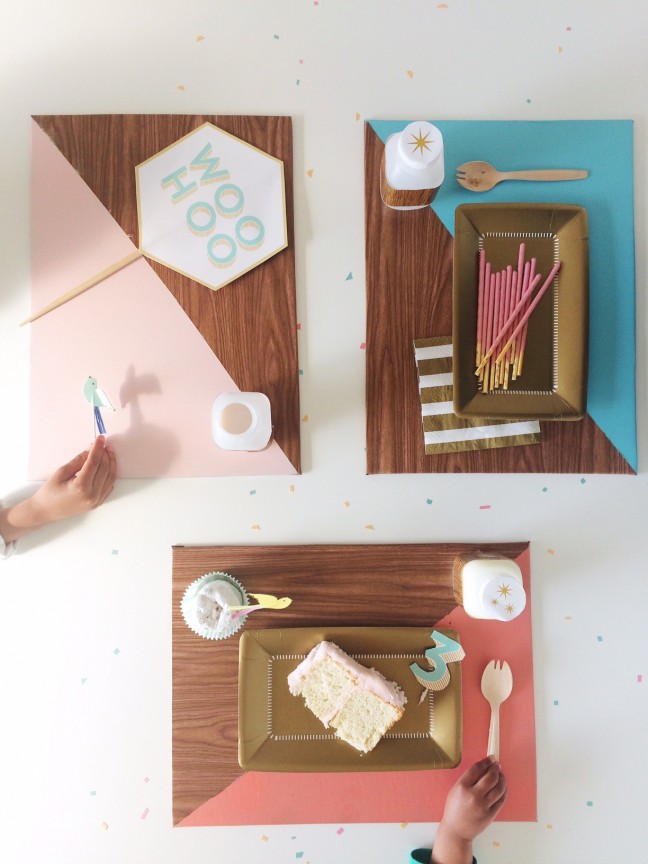
I love to include fun, unique details in parties for the kids, and my three year old’s birthday was no exception. I designed these DIY faux bois color block placemats to add a fun touch of color to her mostly white and gold bash. I love how the woodgrain pattern adds a natural feel to the tablescape’s otherwise modern, geometric vibe.
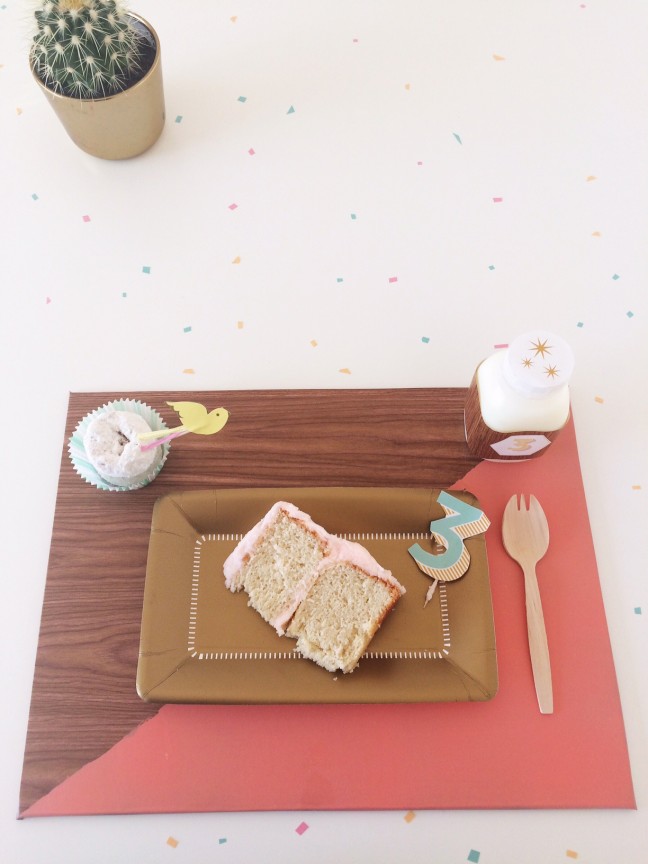
Let’s all raise a glass of milk to inexpensive, super cute party decor. Cheers!
Supplies:
- foam boards
- scissors
- woodgrain contact paper
- painter’s tape
- spray paint
- newspaper
- ruler
- pen
Instructions:
Step 1: Using a ruler, measure and cut a 15″ w x 11″ h rectangle from the foam board. If this size isn’t sufficient for your plate, flatware, and glass, adjust the dimensions as necessary.
Step 2: Cut a piece of woodgrain contact paper (I found mine at a local big box store) an inch wider and longer than your foam board. Remove the paper backing from the contact paper, place it face down on a flat, clean surface, and position the foam board on the adhesive. Turn the board over, and use the edge of the ruler to push any air bubbles out of the contact paper. Once the bubbles are removed, wrap the excess contact paper around the edge and onto the back of the foam board.
Step 3: Align a piece of newspaper along the placemat diagonally from the top right corner to the bottom left. Secure with painter’s tape, and spray paint the exposed contact paper. Apply several coats for complete coverage, if necessary. Allow to dry between each coat. Remove tape and newspaper to reveal the diagonally color blocked placemat.
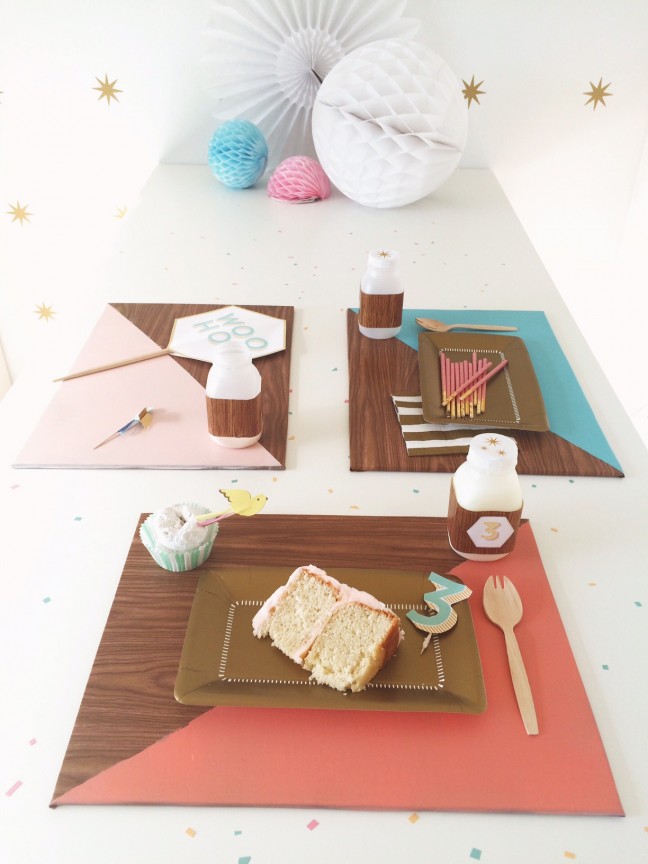
Pics by Shauna Younge of Sweet Tooth
More DIY Placemats:
