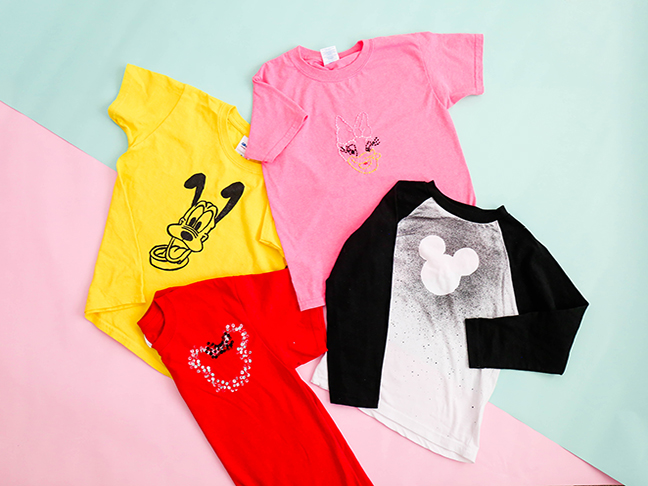
DIY Disney Tees: There’s One For Every Family Member, With These 4 Epic Designs

Daisy Duck T-Shirt

This next tee is one of my favorites. Our daughter is partial to Daisy Duck so I scoured the web for inspiration. I spotted this cute image of Daisy Duck embroidery and thought I’d try to recreate it on a pink tee!

Materials needed:

  • mini embroidery hoop
  • embroidery thread (pink, white, black, yellow, and red)
  • embroidery needle
  • pencil
  • image for reference (we used this one!)

This one definitely takes the longest, so hunker down with your favorite TV show and get ready to stitch this baby out! Place the embroidery hoop in the center of the front of the tee and attach. Using the image for reference, freehand the Daisy design onto the tee inside the embroidery hoop. Don’t worry if you’re not a good sketcher! I only specialize in stick figures, but this is actually pretty easy.

Once you’ve got the image drawn, thread the needle (tie a knot at the end of the thread!) with the pink thread and start stitching the bow. Use a simple over under technique when stitching. When you finish each color, tie another knot and trim the tail before moving onto the next color. Work down the image going from color to color until you’ve stitched over the whole design.

I love how this one turned out! Can’t wait to show it off to the REAL Daisy Duck!

TRENDING
No content yet. Check back later!
X
Exit mobile version