It seems no matter where we go or what we do, someone is handing out swag to my kids. Little toys, trophies, teeny piggy banks, and every other conceivable clutter-creator makes their way into my kids’ hands every day. My girls never want to part with some of this stuff, but they don’t really use any of it either. It just piles up.
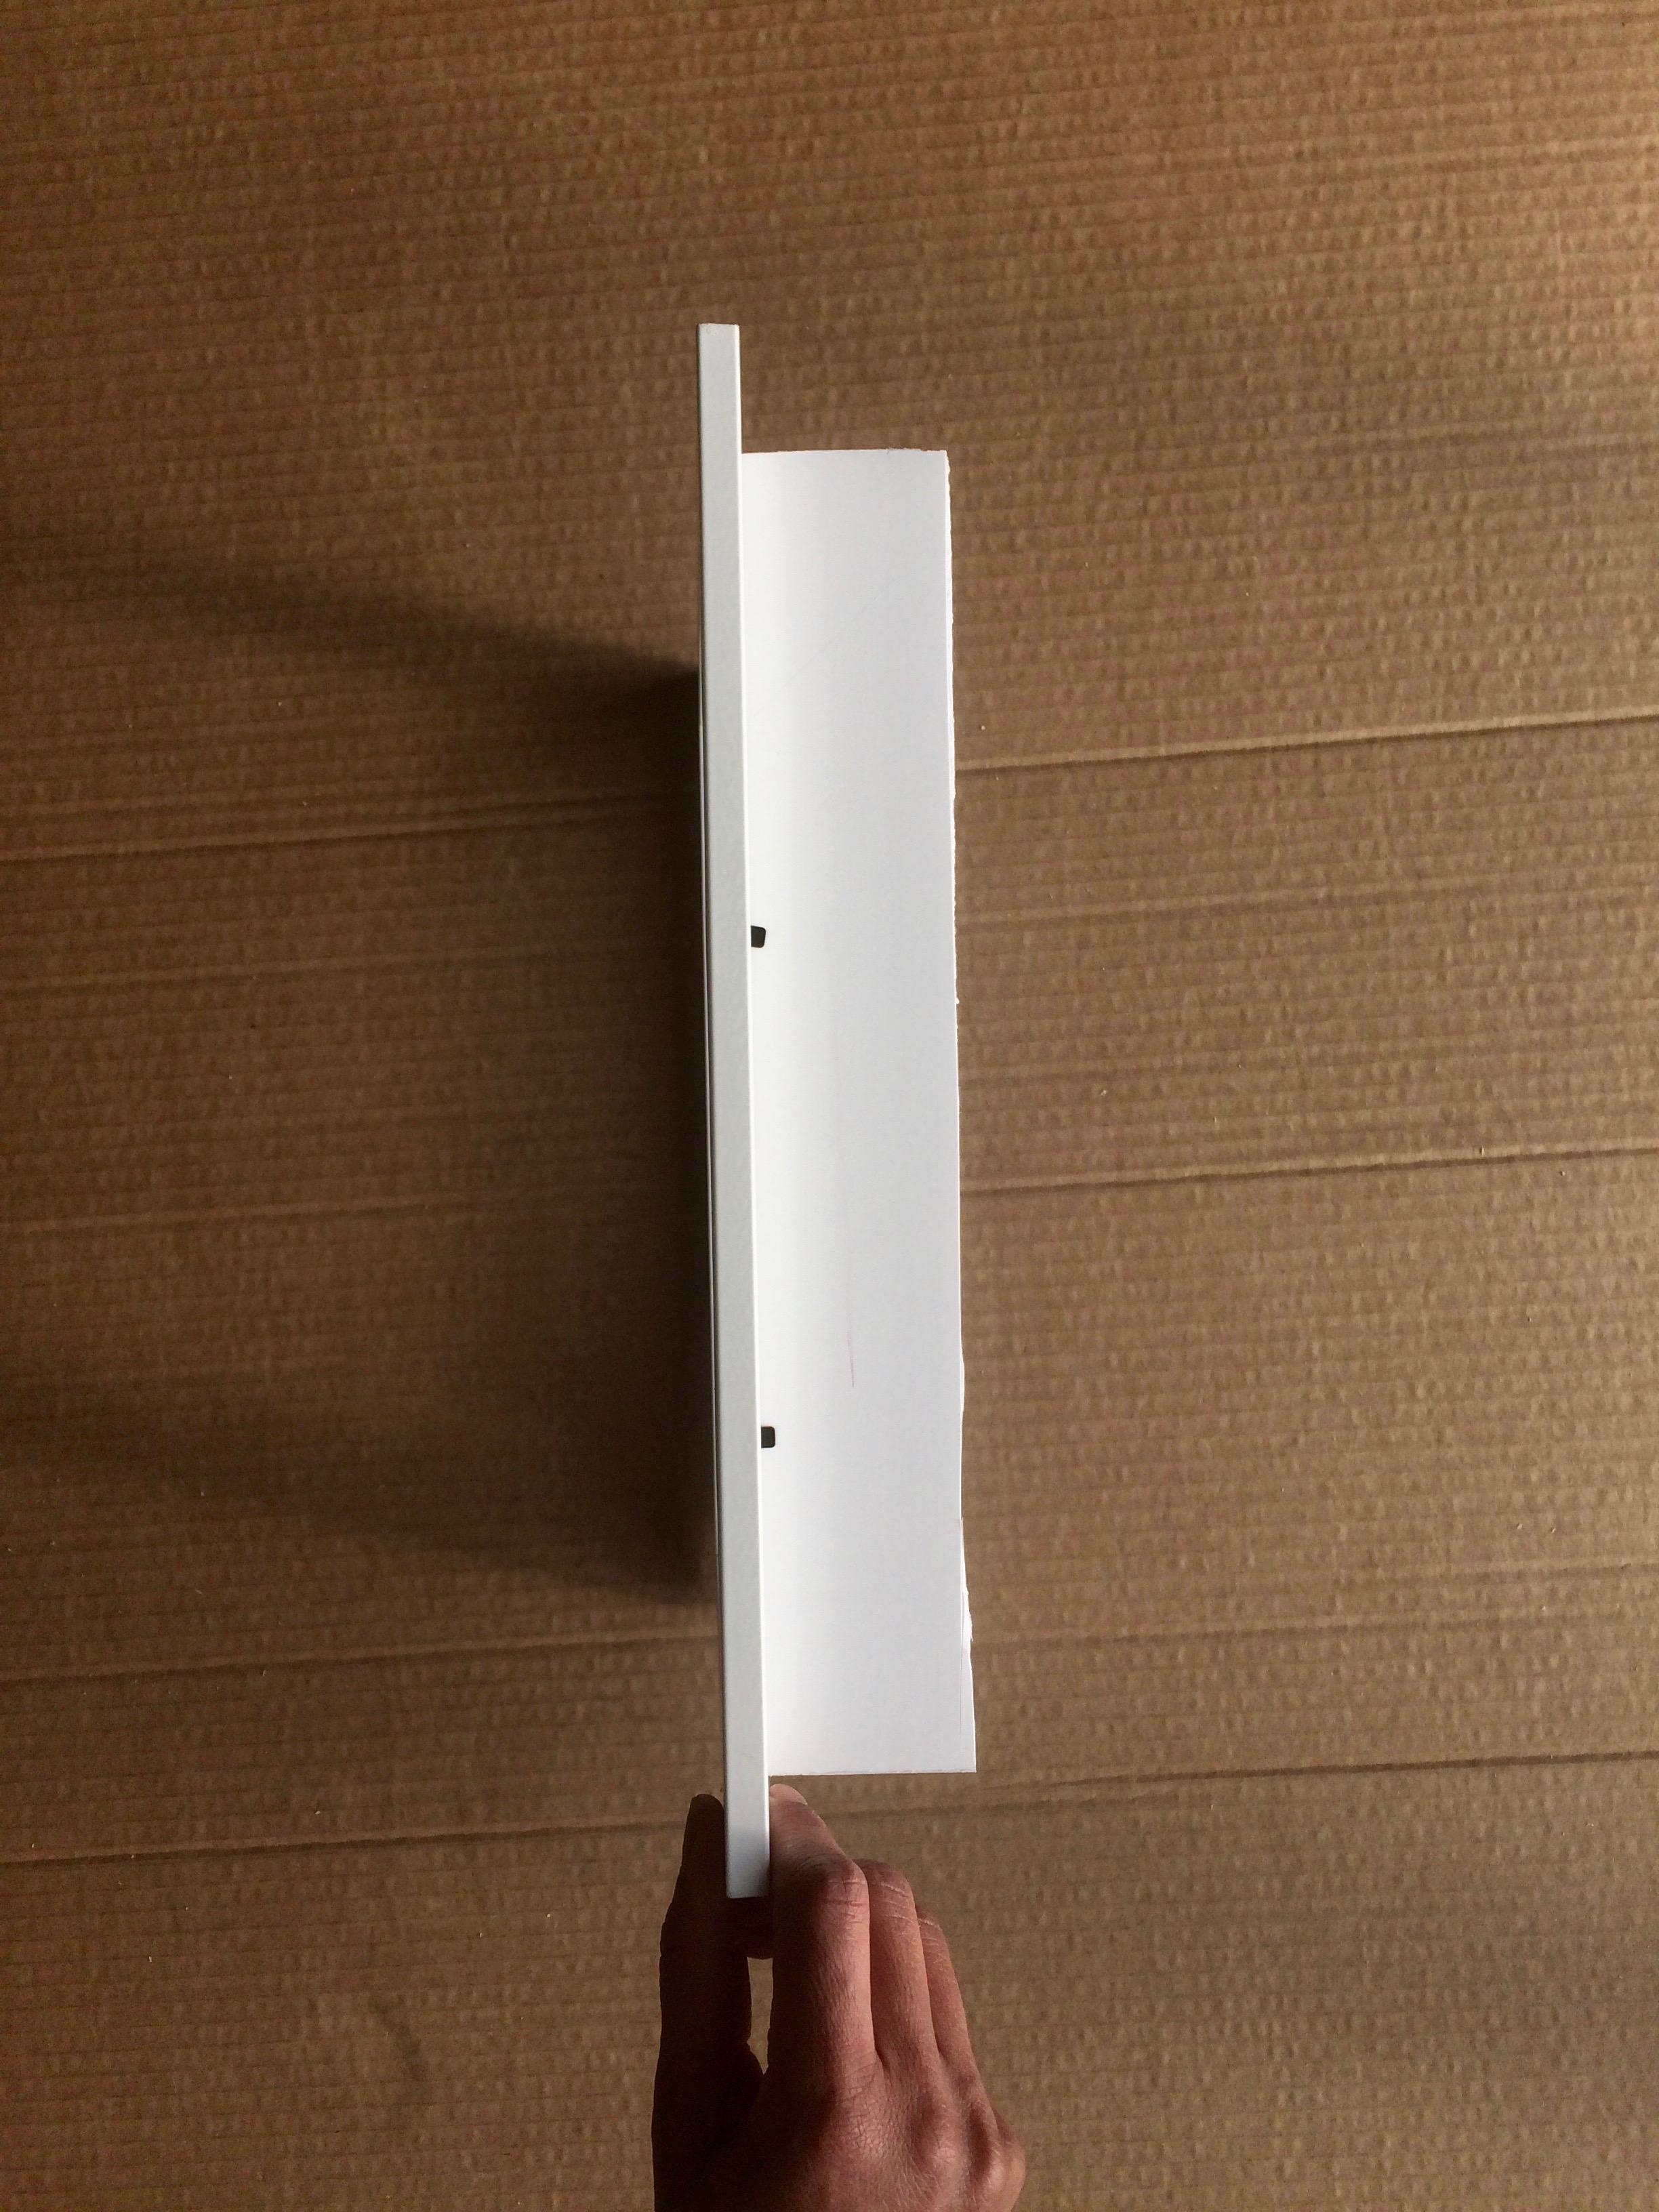
So, I created these DIY picture frame shelves to not only contain some of the odds and ends, but to display them in a fun way. Hopefully, if the kiddo considers all of this swag as part of her room decor, she’s less likely to leave them all over the floor. Even better, my poor feet can have a break from the excruciating pain of stepping on objects with sharp edges.

 Supplies:
- various picture frames
- 1″ MDF boards (pre-cut)
- wood glue
- removable adhesive photo-hanging strips
- level
Instructions:
Step 1: Note your frame measurements before your shopping trip. Select your MDF or other 1″ wooden boards. Choose a width that will accommodate the depth of the items you want to place on the shelf. Have the boards cut to size (you’ll need four boards per frame) by a store employee on their large saw.
Step 2: Carefully remove the glass and mat from each picture frame and set aside.
Step 3: Turn the frame face-side down on a large remnant of cardboard to protect the front from scratching while you work. Using wood glue, adhere one piece of wood along the perimeter of the frame’s opening. Repeat on all four sides of the frame. Allow glue to fully dry.
Step 4: Determine whether you want your frame to hang horizontally or vertically, and apply adhesive, removable photo-hanging strips as necessary. Using a level, arrange your frames and adhesive photo strips. Secure frame shelves to the wall.


