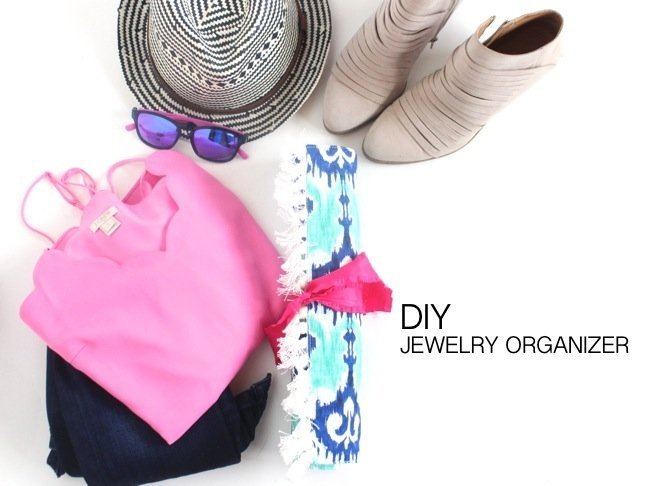
Whether I pack for a 2-day trip or a 2-week long vacation, one thing I never forget is my jewelry. I don’t pack a lot of jewelry, but I like to have a few key pieces. However, it’s difficult to pack my jewelry in an organized way that isn’t too bulky in my luggage. That’s where this DIY jewelry organizer comes in. It’s inexpensive to make, and all of your jewelry will be totally organized (and tangle-free) when you arrive at your destination.
Ready to make your own DIY jewelry organizer? Follow these easy steps.
Supplies:
- Sink Mat, Target
- Placemat (I found mine in-store at Target, but this one online is cute, too),
- Jewelry
- Small pouch (from a previous jewelry purchase, Spot’s Playground at Target or here)
- Circle hand punch, 1/16 inch
Instructions:
Step 1: Punch holes along the edge of the sink mat with a hole punch. (Make sure the hole punch is small in diameter, so it holds the earring in place)
Step 2: Insert the earring post through the hole, and add the back of the earring to the backside of the mat to keep it in place.
Step 3: Unhook necklaces and bracelets, and loop them through the sink mat holes. Leave space in between each necklace, set of earrings, and bracelet, so when you roll it, each piece is protected.
Step 4: For cuffs or bracelets that don’t hook together, insert them in a small pouch. Loop the string on the pouch through two holes in the sink mat.
Step 5: Once all your jewelry is in place, set the sink mat on a cute and colorful placemat. If you know how to sew, you can sew it in place; glue works, too. Then, roll it up together.
Step 6: Add a ribbon or bow, and tie a knot.
Have safe, fun, and stress-free travels!
