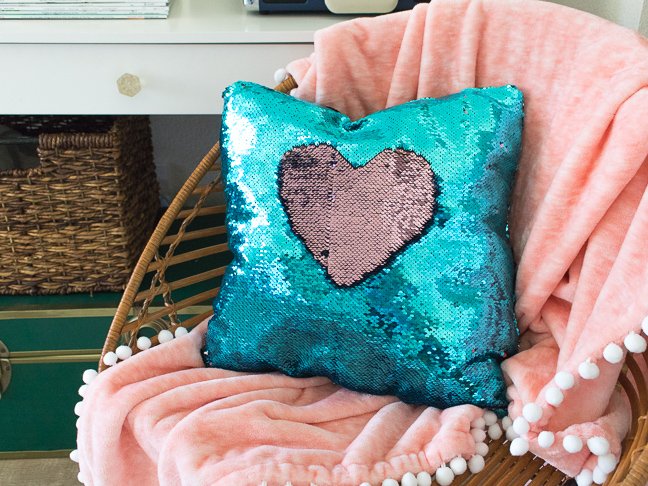
Reversible sequins are all the rage right now, and if you’ve ever run your hand up and down a sequin mermaid pillow, you’ll know why. As you move your hand, the colors change from matte to shiny and back again. It’s kind of addicting!
However, this fun, flashy pillow comes at a price—literally. Sequin mermaid pillows are expensive. As in, you-love-your-kids-but-not-that-much, expensive. Fortunately, you can make your sequin-obsessed teen or tween happy with a DIY version of the popular mermaid pillow for a fraction of the price.
It’s an easy enough DIY that tweens and teens can create their own sequin mermaid pillows, or you can safely work on them together without running the risk of getting into a fight because the whole thing takes only 30 minutes to make. Just be sure to have the vacuum handy because this fabric can make a mess.
To make your own DIY sequin mermaid pillow, follow my simple step-by-step directions below.
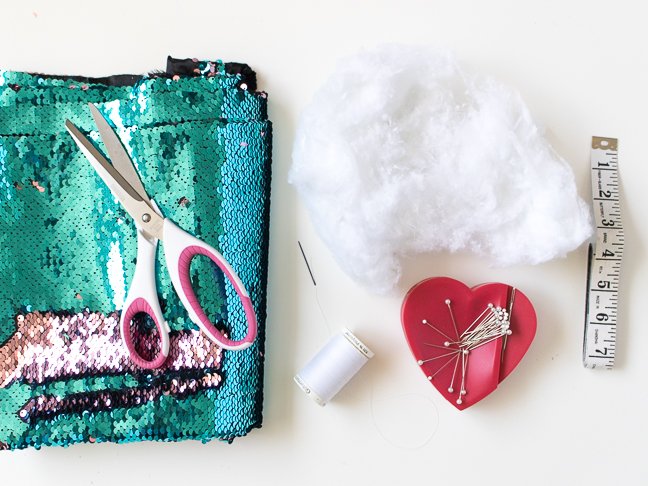
Supplies:
- Reversible sequin fabric
- Scissors
- Pillow stuffing
- Measuring tape
- Pins
- Hand sewing needle
- Thread
- Sewing machine
Note: I do not recommend using dedicated fabric scissors because the sequins may dull the blades.
Directions:
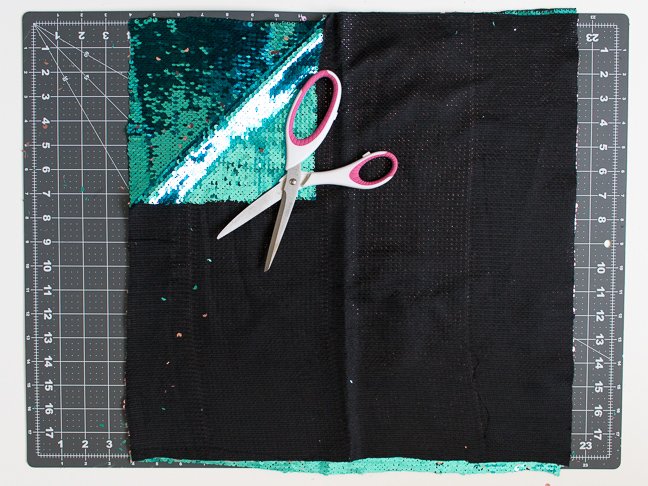
Step 1: Cut the fabric. Fold in half with the sequin sides together, and cut an 18-inch square. Cutting this way will reduce the mess caused by cutting sequins. You can adjust the measurements as desired but leave at least a 1/2-inch seam allowance.
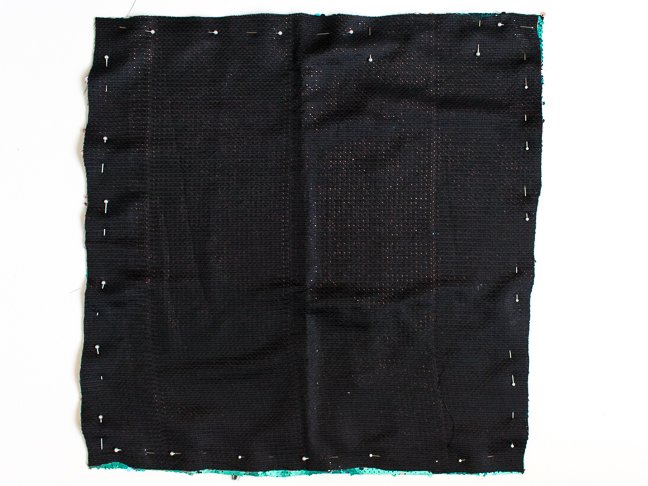
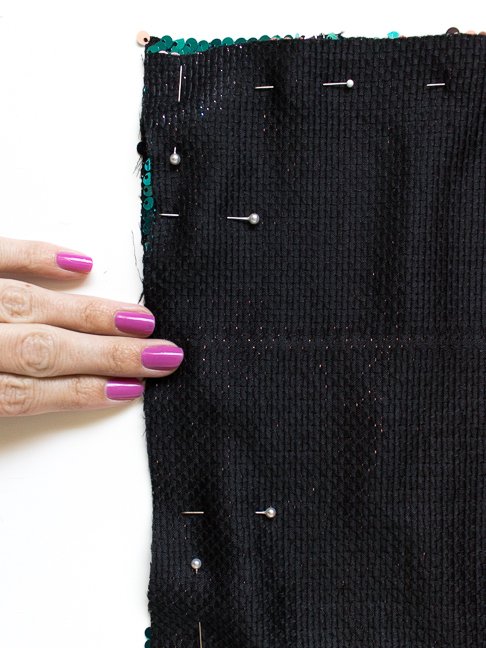
Step 2: Pin all around the edges of the square with the sequin sides facing together. Leave a 3-inch space open at one end, and mark with pins.
Step 3: Sew all the way around the pillow in a continuous stitch about 1/2 inch from the edge, leaving the 3-inch space open. Backstitch at each end. Sewing over the sequins shouldn’t be difficult for your machine, BUT it may dull the needle.
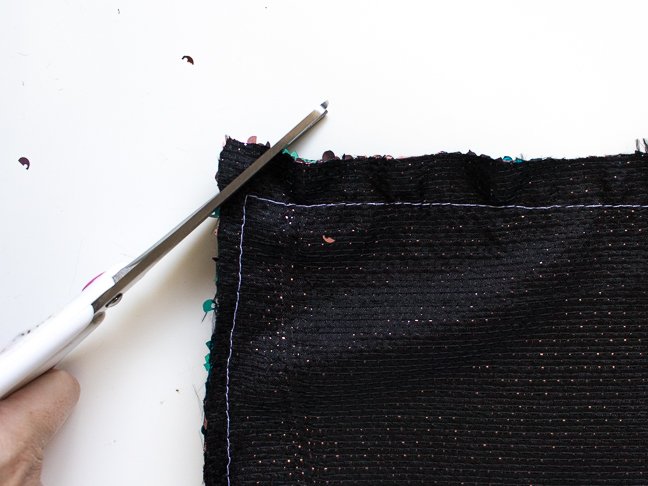
Step 4: Trim the corners of the pillow so that they stay defined (see above).
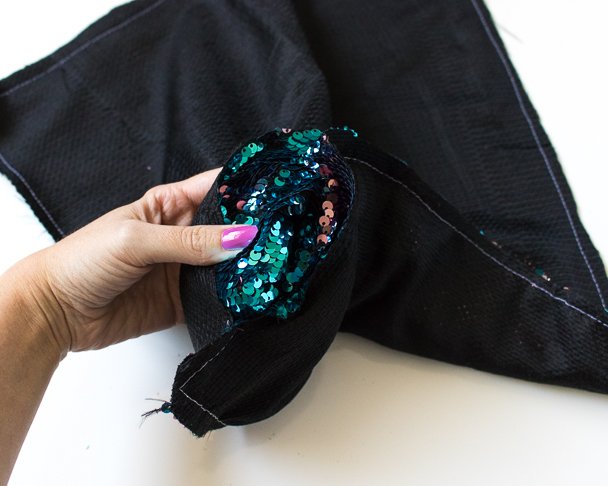
Step 5: Turn the pillow right side out through the opening.
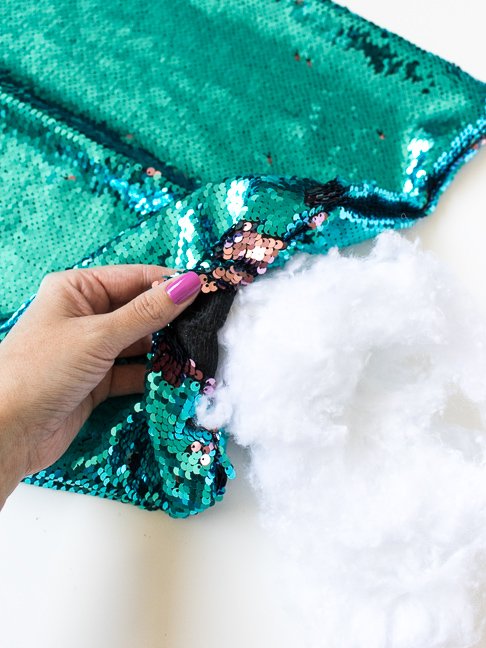
Step 6: Once right-side out, fill the pillow with stuffing, pushing it all the way into the corners.
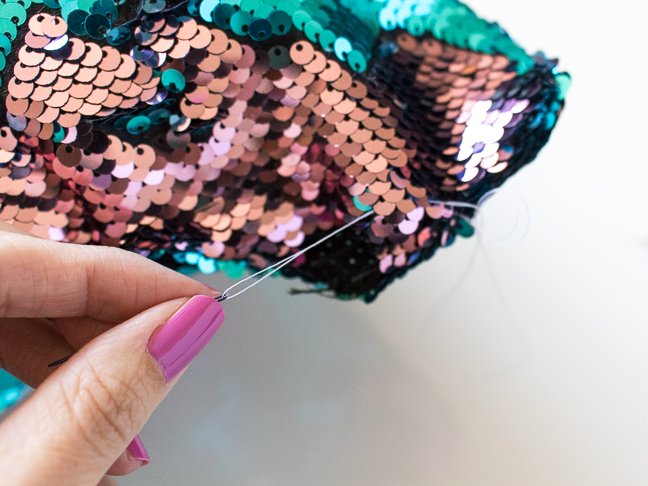
Step 7: Thread a hand-stitching needle and knot the end. At the open seam, pull the thread through the inside and let the knot catch. Stitch the opening closed with an invisible stitch or another stitch. The nice thing about this fabric is that the sequins will hide imperfect stitches.
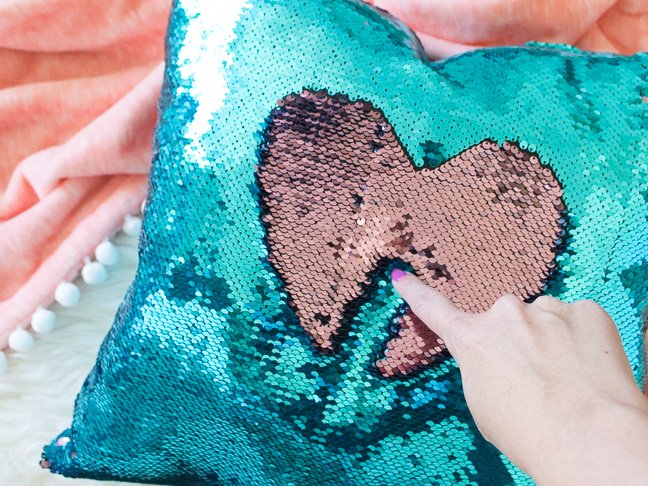
Step 8: Now it’s ready to display!
