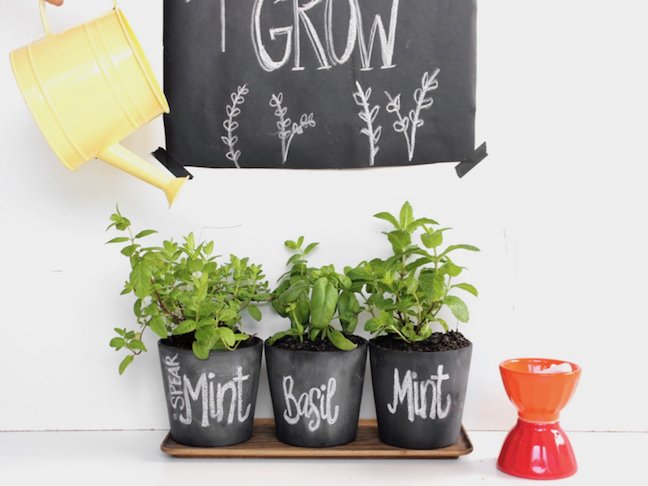
These 3-Step DIY Chalkboard Planters Are So Easy to Make

The look of white chalk against a black surface may give you flashbacks to your school days, but I can assure you, outside of the classroom, chalkboard paint has become one of the coolest home accents around. It can transform a customizable label, notebook, piece of art, art wall, menu, or tag. It’s also my new go-to for labeling my plants.

My plants and I seem to be at odds all summer because I can’t keep all of them alive. The good news is, I’m learning as I go. The bad news is there have been some plant casualties along the way. However, I’m better able to keep track of what I’ve planted (because, you know, each plant may require something a little different) by using clearly marked chalkboard planters. Plus, I’ve learned a permanent label doesn’t work in my favor in case one does wilt and I need to start fresh with a new sprout.

These DIY Chalkboard planters are so easy, they can be done in less than 30 minutes, with the exception of paint drying time. Grab the kids, and let them help plant the herbs, and then label the pot. You will never forget what you planted again.

Materials:

  • Terra Cotta Pots (I got mine from Lowes)
  • Chalkboard paint
  • Chalk or chalk pen
  • Dirt
  • Herbs
  • Chalkboard eraser

Directions:

Step 1: Spray paint the pots with chalkboard paint, and let them dry. You can add a primer before you paint, as well.

Step 2: Hold the chalk on its side and rub it all over the pot. Use the eraser to erase all the chalk. Now, your pot is “primed” for words.

Step 3: Write the herb names on the planter. The regular chalk works great. If you want something more permanent, go with a chalk pen because it’s harder to erase or rub off.

Step. 4: Plant your herbs. You can start with seeds or a plant. Give your plants the water, sunshine, and TLC they need. and watch them flourish.

Like what you see? Don’t forget to Pin it!

TRENDING
No content yet. Check back later!
X
Exit mobile version