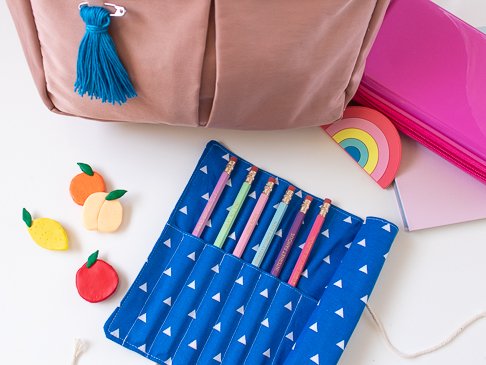
I can’t believe the kids are heading back to school already. And that means back-to-school shopping and back-to-school bills! Because between the back-to-school backpacks, new shoes, clothes, lunch boxes and supplies, it’s easy to spend a fortune in a flash. That’s where DIY school supplies come in. I mean, why pay extra for fancy colors, designs, or glittery supplies when you can easily make them yourself? The big win here is that it keeps the kids busy and they can create school supplies that reflect their own personality.
Have I sold you yet on making your own creative back-to-school designs? These 3 easy DIY school supplies ideas can be both useful and cute. They include a roll-up pencil case, fruit locker magnets and a tassel backpack charm. You can make all of these projects in 30 minutes or less, and your kids can help with several of the steps to make their own DIY school supplies.
Here’s how to save money and get crafty:
DIY Back-to-School Roll-up Pencil Case
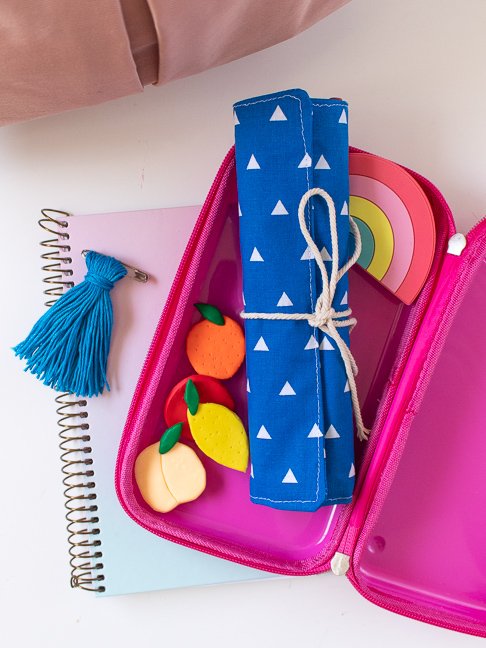
This simple roll-up pencil case will hold all of your kid’s pens and pencils, or you can even use one for corralling colored pencils. Make a pencil case out of fabric that has a pocket for each pen or pencil and conveniently rolls up to take up minimal space while keeping supplies organized.

Supplies:
- 1/4 yd fabric
- String, 8 inches long
- Scissors
- Pins
- Thread
- Sewing machine
Instructions:
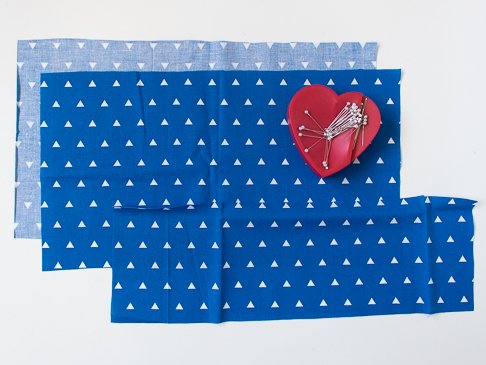
Step 1: Cut the fabric into two 15 x 8.5 in pieces and one 15 x 5 in piece. Iron pieces to remove creases.
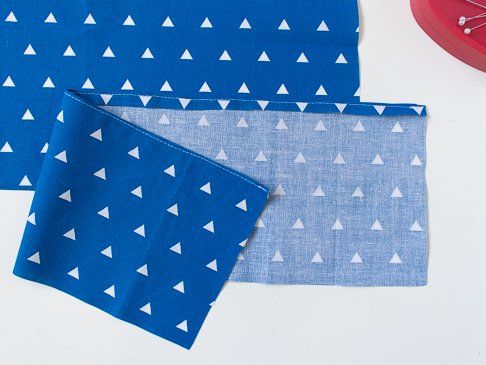
Step 2: Fold the top of the smaller piece over (keep pattern direction in mind) and sew to create a clean seam along the top of the pocket.
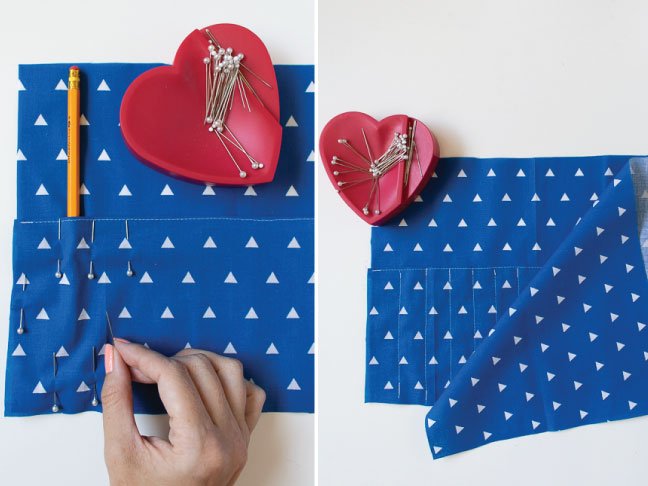
Step 3: Place the smaller piece on top of one of the larger ones, lining up the bottoms. Using a pencil as a guide, pin sections across the pocket piece where you will sew each pencil pocket. Sew across the pocket, back stitching each end.
Step 4: Place the second large piece on top, with right sides facing together. Sew all the way around the edges, leaving an opening on one side, about 2 inches wide.
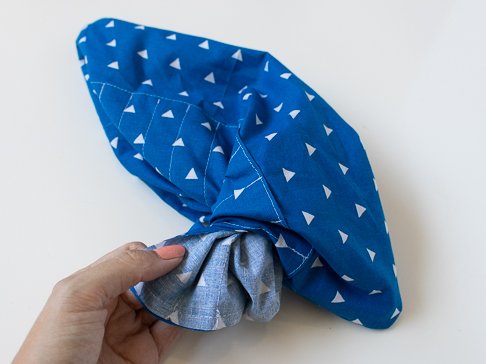
Step 5: Turn the fabric right side out through the opening. Iron seams flat again.

Step 6: Tuck in the open section of the pencil case and top stitch all the way around.
Insert pencils into each pocket, roll it up and tie together with the string.
DIY Back-to-School Fruit Locker Magnets
Make cute, simple fruit magnets using clay that are perfect for decorating and organizing the inside of lockers. You can also use them at home, of course!
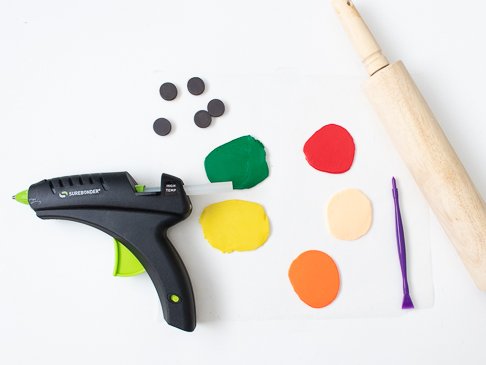
Supplies:
- Clay (red, yellow, peach, orange, green, etc.)
- Rolling pin
- Cutting tool
- Round magnets
- Hot glue gun
Instructions:
Step 1: Roll clay flat so that each is equal thickness, about 1/4-inch.
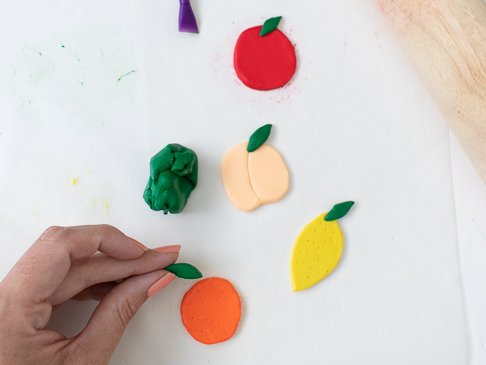
Step 2: Cut a round circle about 1-1/2 inches thick out of the fruit colors and leaf shapes out of the green. Make a leaf shape out of the yellow for a lemon or a circle with a chunk out of the bottom for a peach, you can use a toothpick to make additional details. Pinch the leaves onto the fruit to adhere.
Step 3: Bake the clay according to package details. Then let cool.
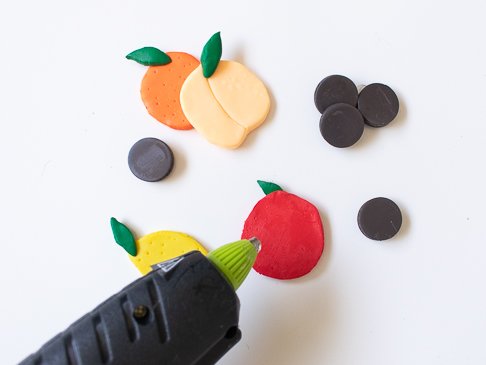
Step 4: Once hardened and cooled, glue the magnets to the backside.
DIY Back-to-School Tassel Backpack Pin
Use a package of embroidery floss to make a tassel that easily attaches onto any bag or backpack with a safety pin!
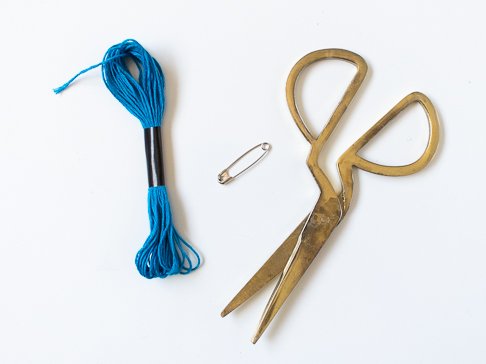
Supplies:
- Safety pin
- Embroidery floss
- Scissors
Instructions:
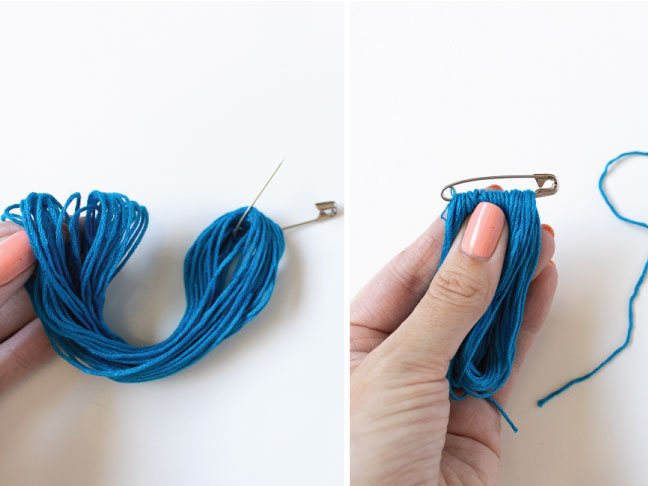
Step 1: Cut one piece of thread about 5 inches long and set aside. Thread the rest onto the safety pin – first one side, then the other.
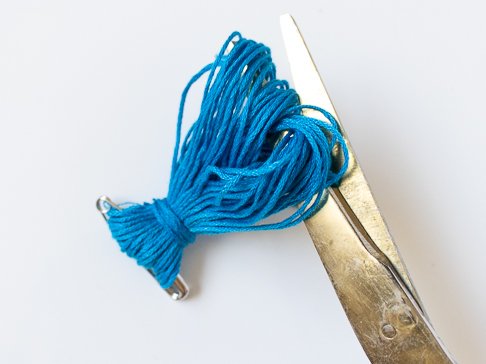
Step 2: Secure the safety pin and cut the bottom loose. Then tie the extra piece of thread around the top to create the tassel.
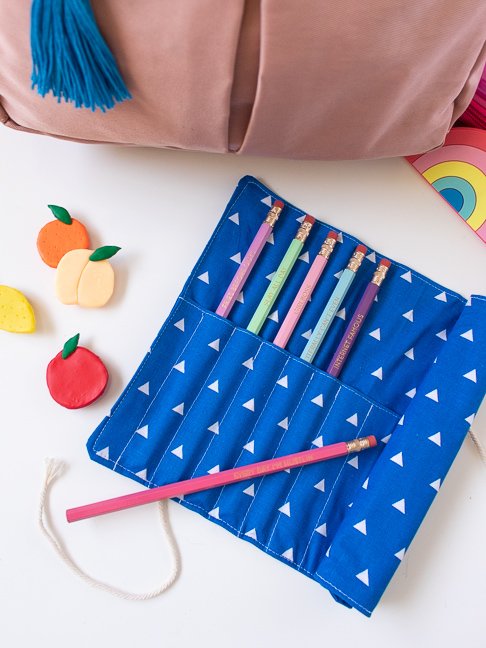
Any one of these 3 DIY school supplies will make going to school much more fun for kids! After all, everyone like to feel original sometimes.


