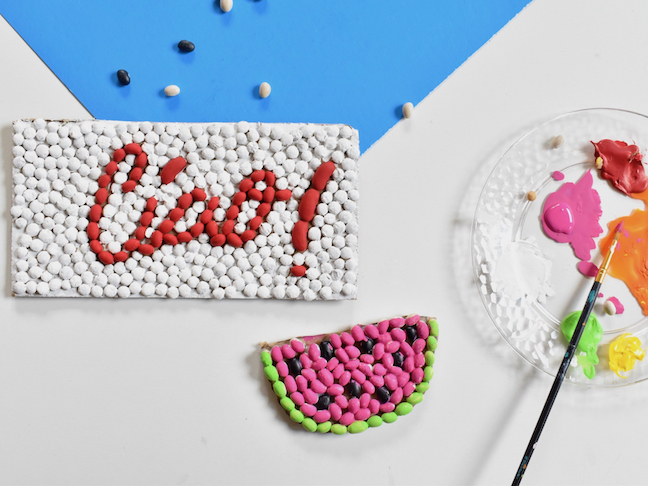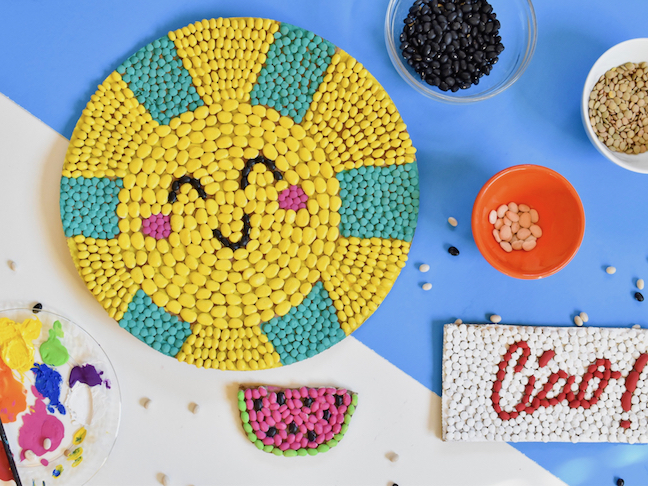
We all know the long-time favorite saying that goes like this, “Beans, beans, the magical fruit, the more you eat, the more you toot.” And, we all know it does have merit. But, the magic of beans doesn’t always end in our chili bowl, or in toots. After this latest DIY bean craft, I say, “Beans, beans, the magical fruit, the more you have, the more you can create!” My daughter and I created beautiful DIY art masterpieces from beans in our pantry. In fact, most items for this DIY bean art we had on-hand, so it was little to no cost. We had a really good time making this unique and affordable DIY art. I still can’t believe beans were the source of such beauty.
Let beans inspire you, and let’s get this DIY bean art party started.
DIY Bean Art
Materials:
- Beans (all types including navy, black, pinto, lentil, etc.)
- Acrylic paint
- Paintbrush
- Cardboard
- Scissors or Xacto knife, to cut cardboard
- Pencil
- Elmer’s glue
Directions:

Step 1: Cut pieces of cardboard from boxes, or recycled pizza cardboard. You can use round or square pieces. Draw the animals, objects, or words you want to create with a pencil. This will be a guide for you, and the different types of beans.
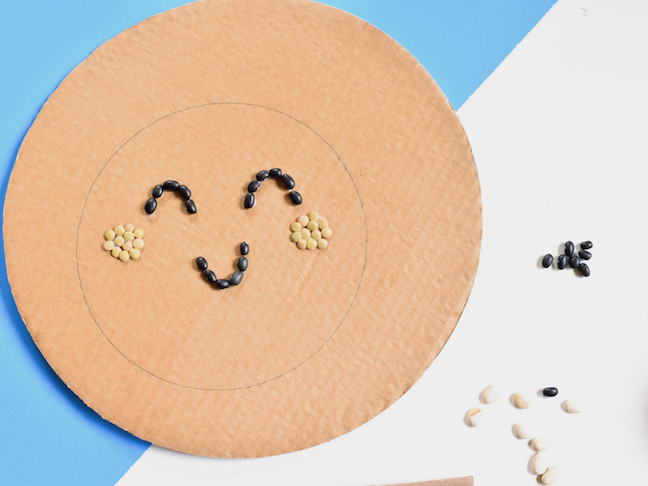
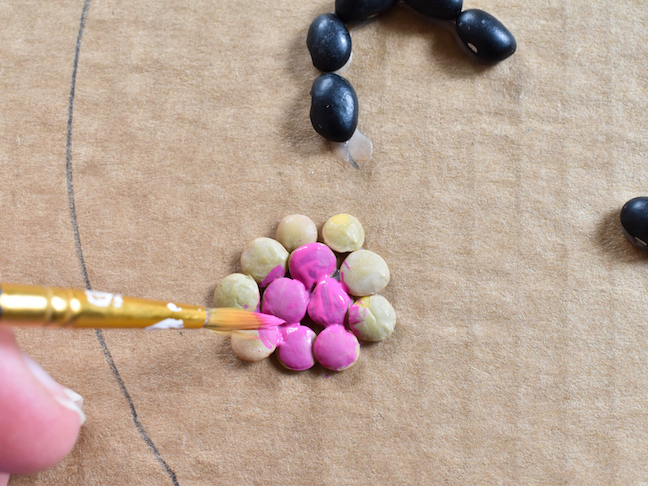
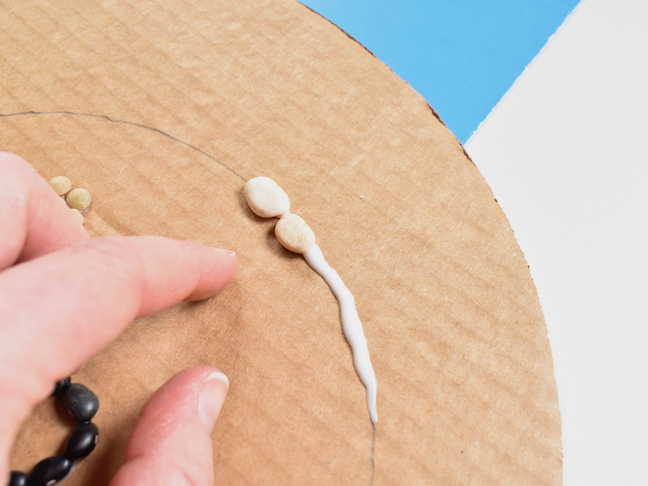
Step 2: Begin to glue beans along the lines, and then fill in each area one by one. Once one area, or section, is full, paint the beans. It’s best to color them in stages because the more beans there are, and the closer they are, the harder it is to not get paint on them, and then it looks sloppy. So, once the beans are in place and the glue is dry, paint them. To reiterate, do not glue ALL the beans at one time, and then paint them; do it section by section.


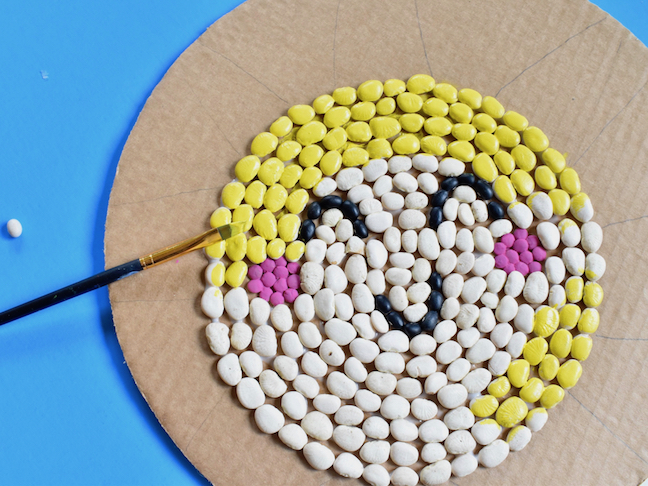
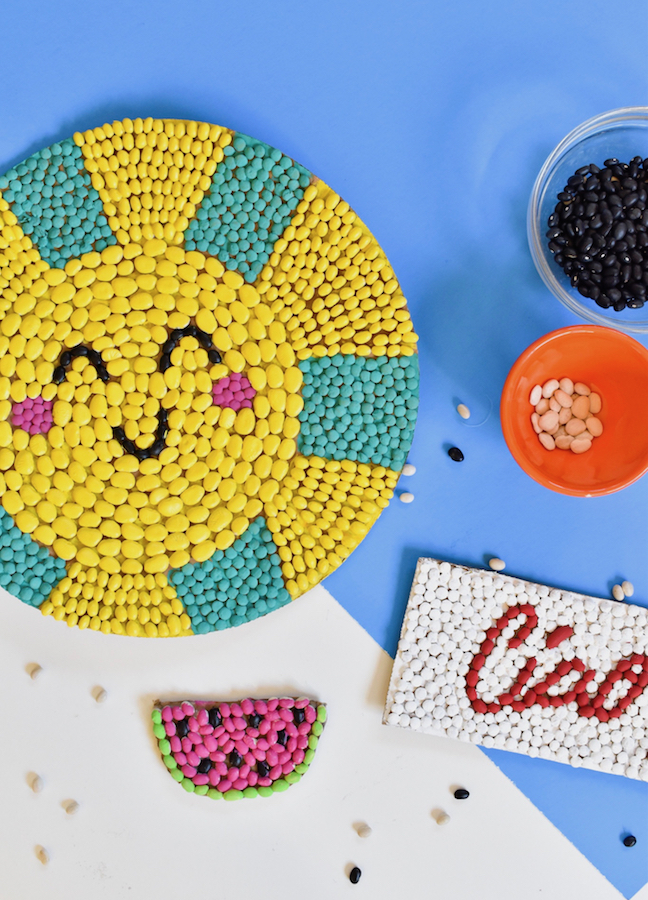
Step 3: Repeat step 2 on all areas of your bean masterpieces, until it’s completely filled in and painted. It’s good to use a variety of beans because it creates texture and dimension. The direction of the beans can also make cool effects on the art.
