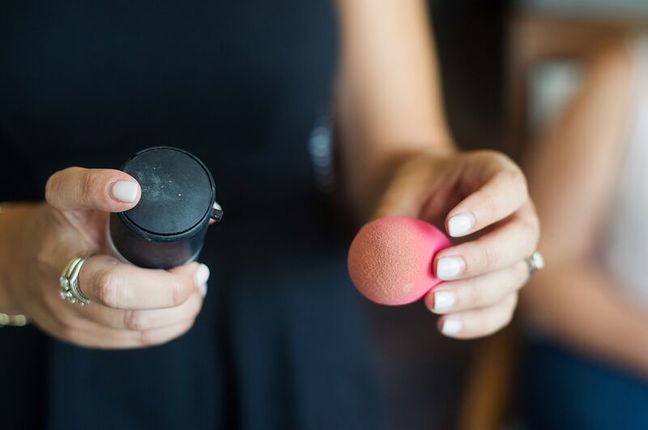
What the heck is that “egg-looking hot pink thing” at Sephora that you keep seeing? People talk about this mystical Beauty Blender like it’s supposed to be amazing, but if you haven’t bought in yet, let’s chat! That little hot pink egg is everything! It literally gives you airbrushed skin every time you use it.
This tutorial will show you how to use a beauty blender the right way—just like the pros do.
Supplies:
- Beauty Blender
- plain ol’ water or rose water
- your favorite foundation
Instructions:
Before you begin, make sure to moisturize and prime your skin first. I also like to apply concealer to problem areas and under eyes if it’s necessary.

Step 1: Get your Blender wet with water, or use my favorite substitute for water when it comes to the face: rose water. Dampen the sponge and squeeze it out if you’re using water. If you’re using rose water, spray the Blender a couple times and squeeze it.

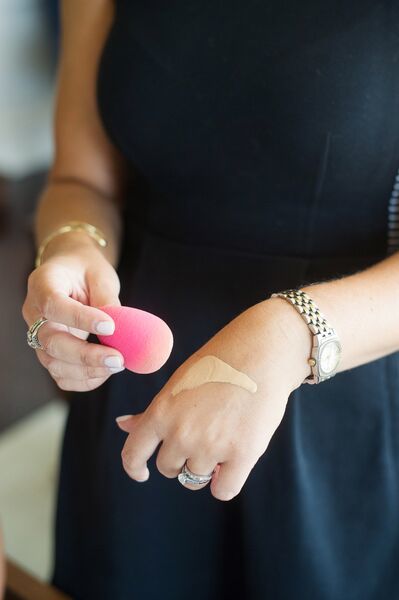
Step 2: Using the moistened larger end, tap your foundation onto the Blender. I like to use my hand because it warms up the foundation.

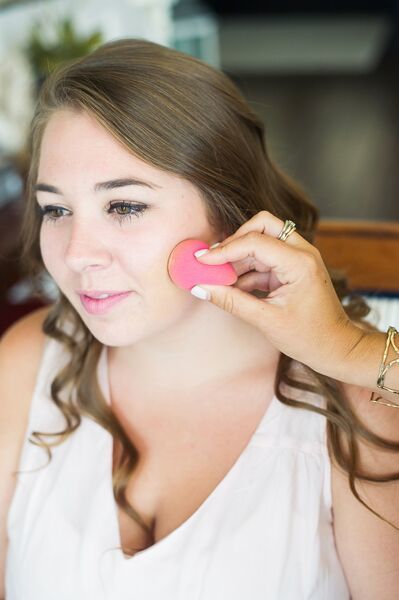
Step 3: Tap your Blender with foundation on it onto your face. Continue tapping it onto your face until your face is fully covered and blended. Work the product into the creases around your nose and neck to create a seamless look.
Step 4: When working around the eye, flip the Blender to the smaller, pointy end and blend the concealer into your under eye area.

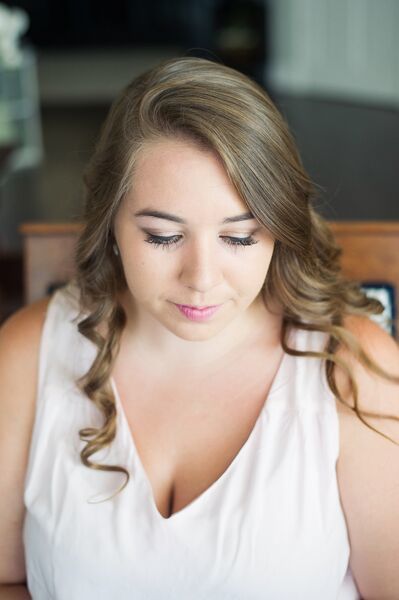
Voila! You have flawless, airbrushed skin in less than two minutes. Make sure to keep your tapping/blending motion going for your entire face.
Once you start using the Blender, I guarantee that you’ll love it so much that you’ll never go back to using a foundation brush again.

More DIY Makeup Tips:


