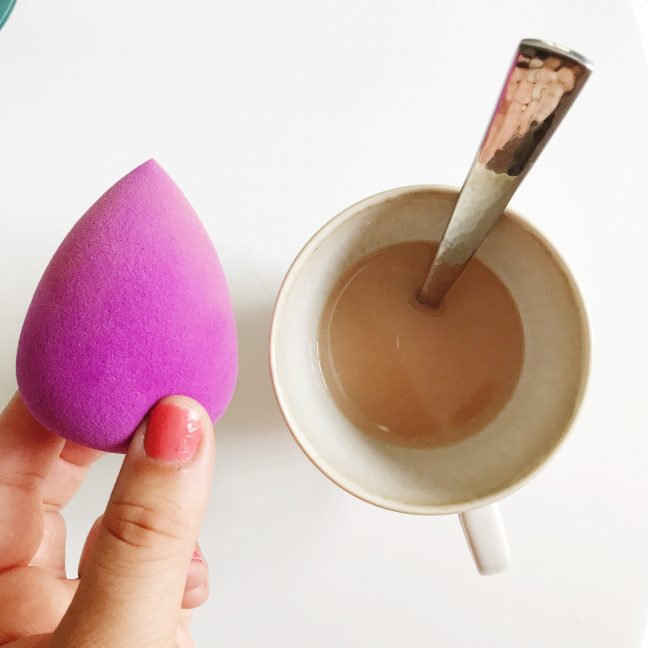
How to Clean Your Beauty Blender the Right Way

If you have ever used a Beauty Blender makeup sponge, then you will understand why it reigns supreme among beauty novices and pros alike. It’s soft and bouncy and perfect for getting that flawless finish we all want. But when was the last time you cleaned your Beauty Blender? Probably never, right? I mean, who has that kind of time? I recently realized that it had been ages (i.e. never) since the last time I cleaned mine — no wonder my skin has been breaking out. When you think about all of the dead skin cells, dirt, and makeup caked on those things it is sort of shocking that we continue to use them on our faces. And unlike most other makeup sponges, the Beauty Blender is a lot more expensive so it’s not really cost effective to throw it out after a few uses.

Thankfully, there’s a very easy way to clean your Beauty Blender – whether you want to do so daily, every other day or thoroughly every week. Follow my step-by-step directions below to clean your Beauty Blender in a microwave. This hack just might change the game for lazy makeup lovers everywhere.

How To Clean Your Beauty Blender

Supplies:

  • microwave safe cup or bowl (a coffee mug that is microwave safe works great!)
  • water
  • mild soap
  • Beauty Blender
  • microwave oven

Instructions:

Step 1: Fill your microwave-safe dish 2/3 full (enough water to cover the makeup sponge when submerged but not so much that water overflows)

Step 2: Add a drop of gentle soap (I use blue Dawn dish soap) and mix into the water

Step 3: Fully submerge your Beauty Blender

Step 4: Put the dish with soapy water and Beauty Blender in your microwave and zap it for 60 seconds

Step 5: Once your time is up, wait a minute before removing the dish (you don’t want to burn yourself)

Step 6: Once you remove the dish remove the blender and let it cool. Then rinse and wring it out and it is good as new!

Like what you see? Don’t forget to Pin it!

X
Exit mobile version